How to Do Transactions With Trezor Hardware Wallet:
Step 1: Login to Metamask 1) Click on the fox icon. 2) Insert Password and click Unlock. 3) Click send. If you want to exchange one token for another then click swap.
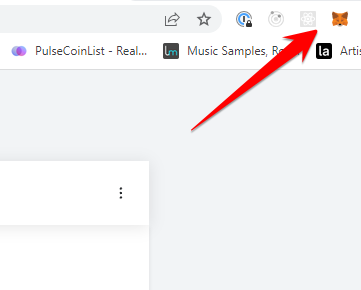
Click Fox Icon
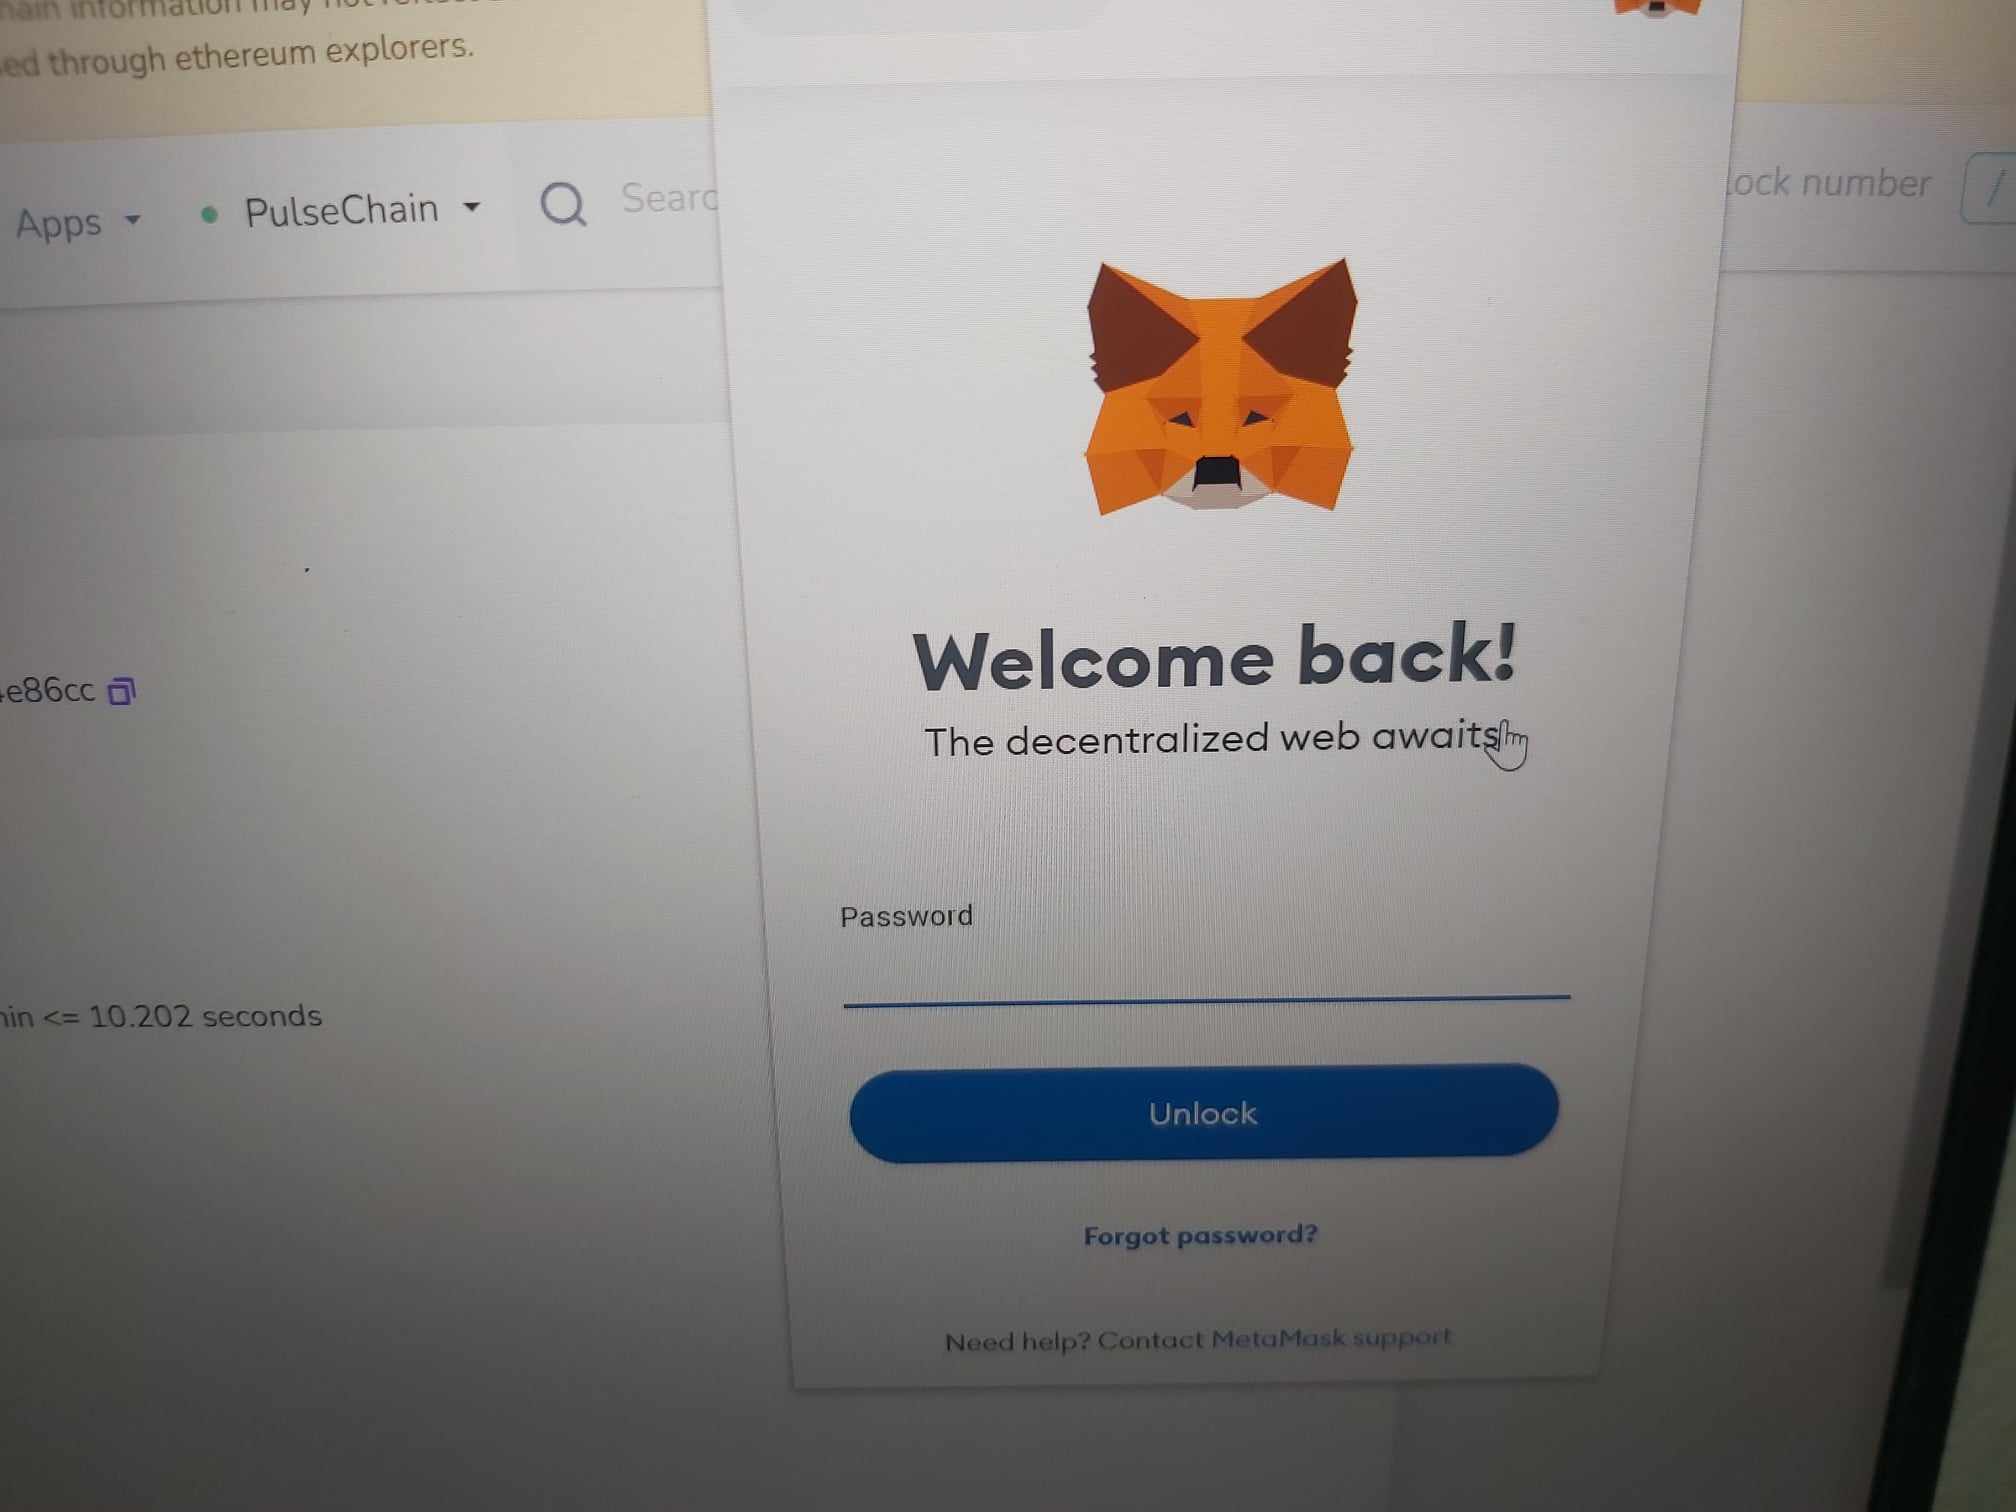
Enter Password & click Unlock
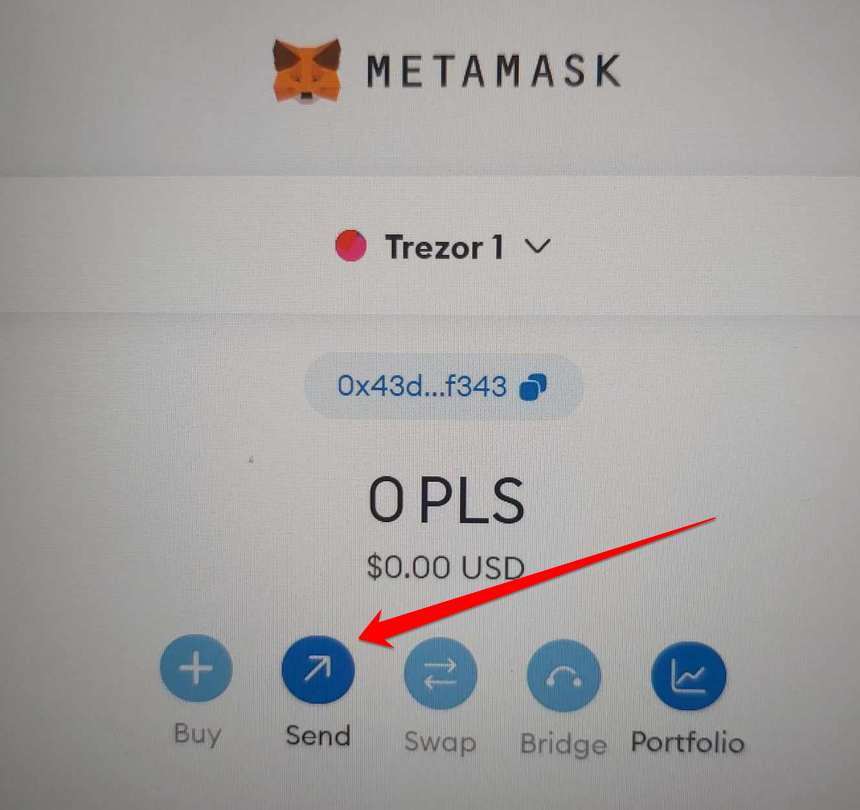
Click Send
Step 2: Insert token & amount to send 1) Insert address to send tokens too. 2) Insert amount of tokens to send & click Next. 3) Click Confirm.
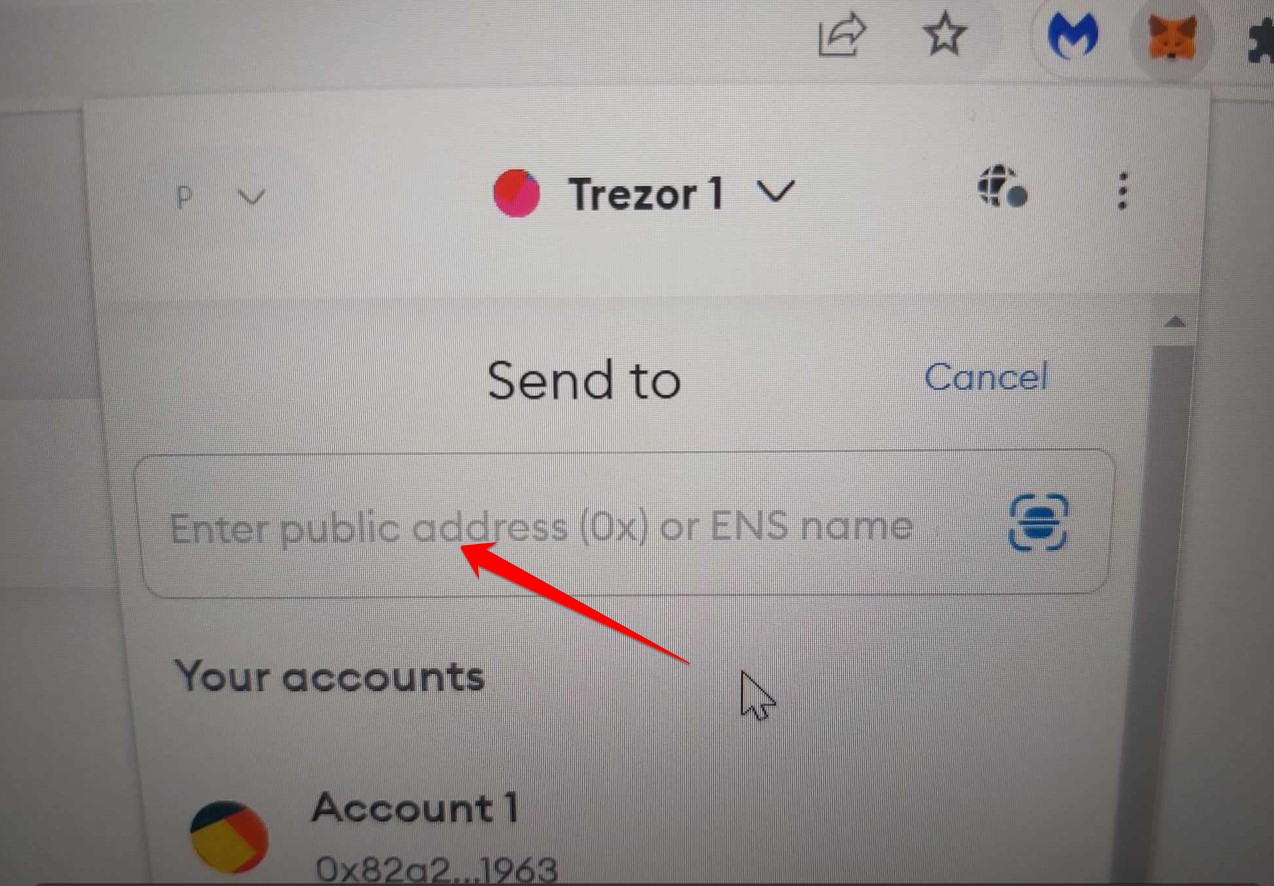
Insert address to send tokens too
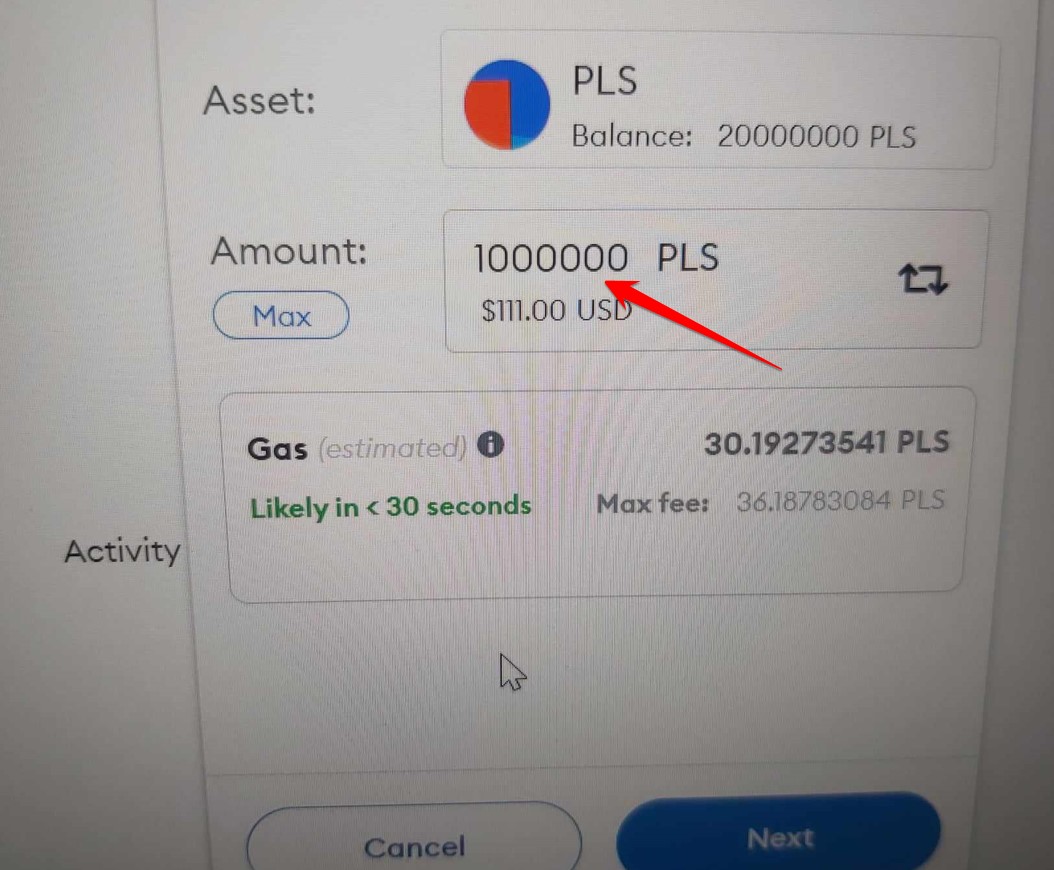
Insert amount of tokens to send & click Next
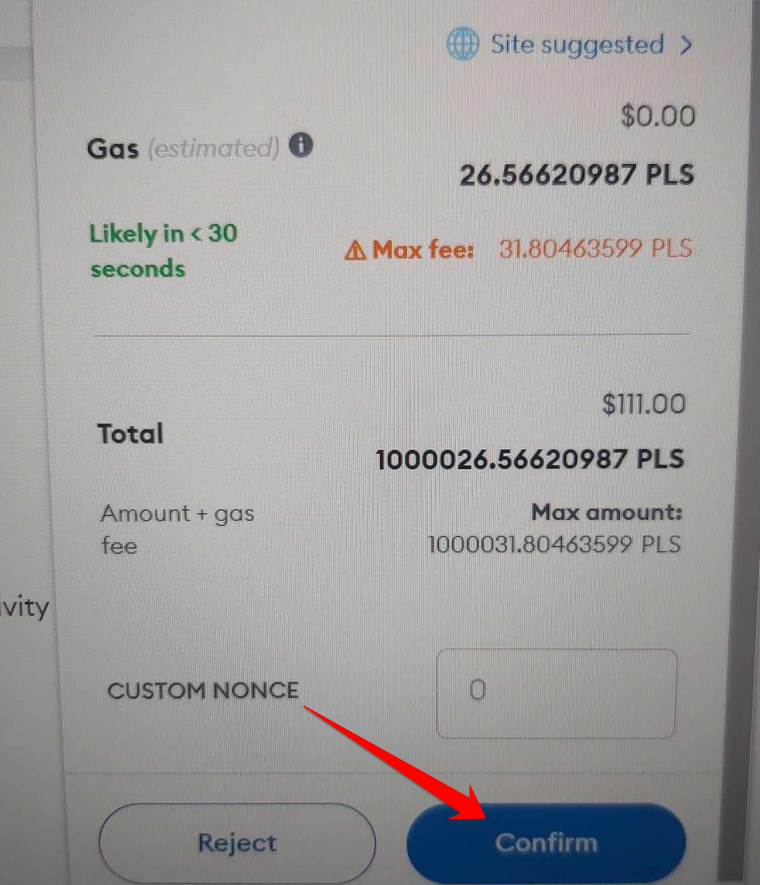
Click Confirm
Step 3: Connect Trezor hardware wallet to computer (USB) If you already have your Trezor connected you can skip this step. 1) Plug in your Trezor hardware wallet into the USB on your computer. 2) Touch the screen. 3) Enter PIN code.
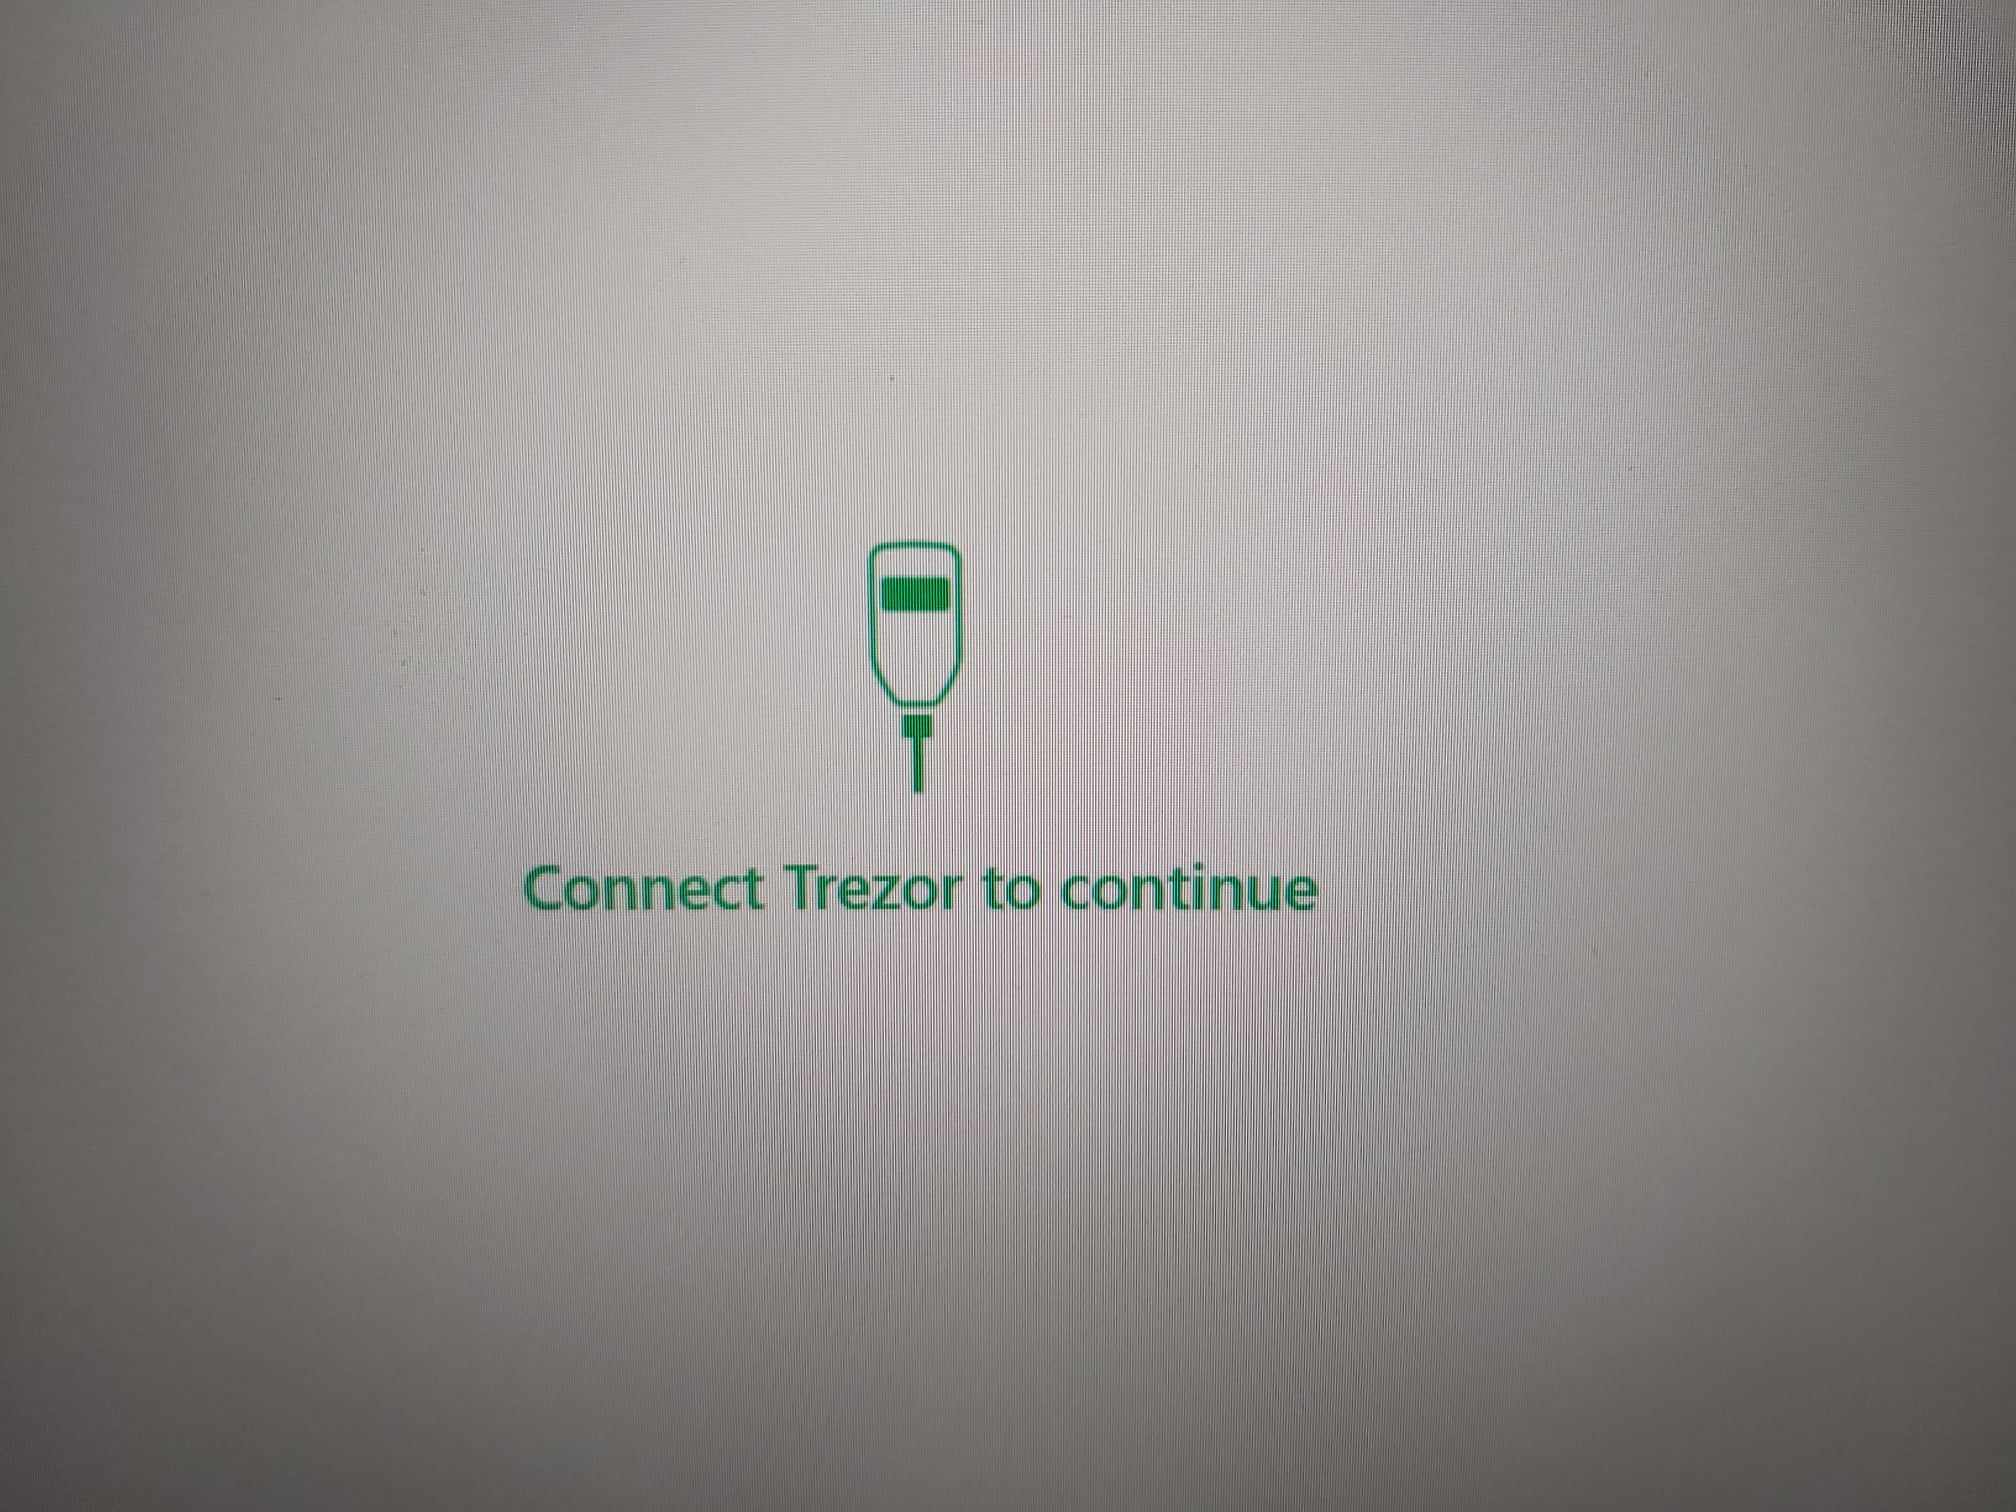
Connect Trezor hardware wallet
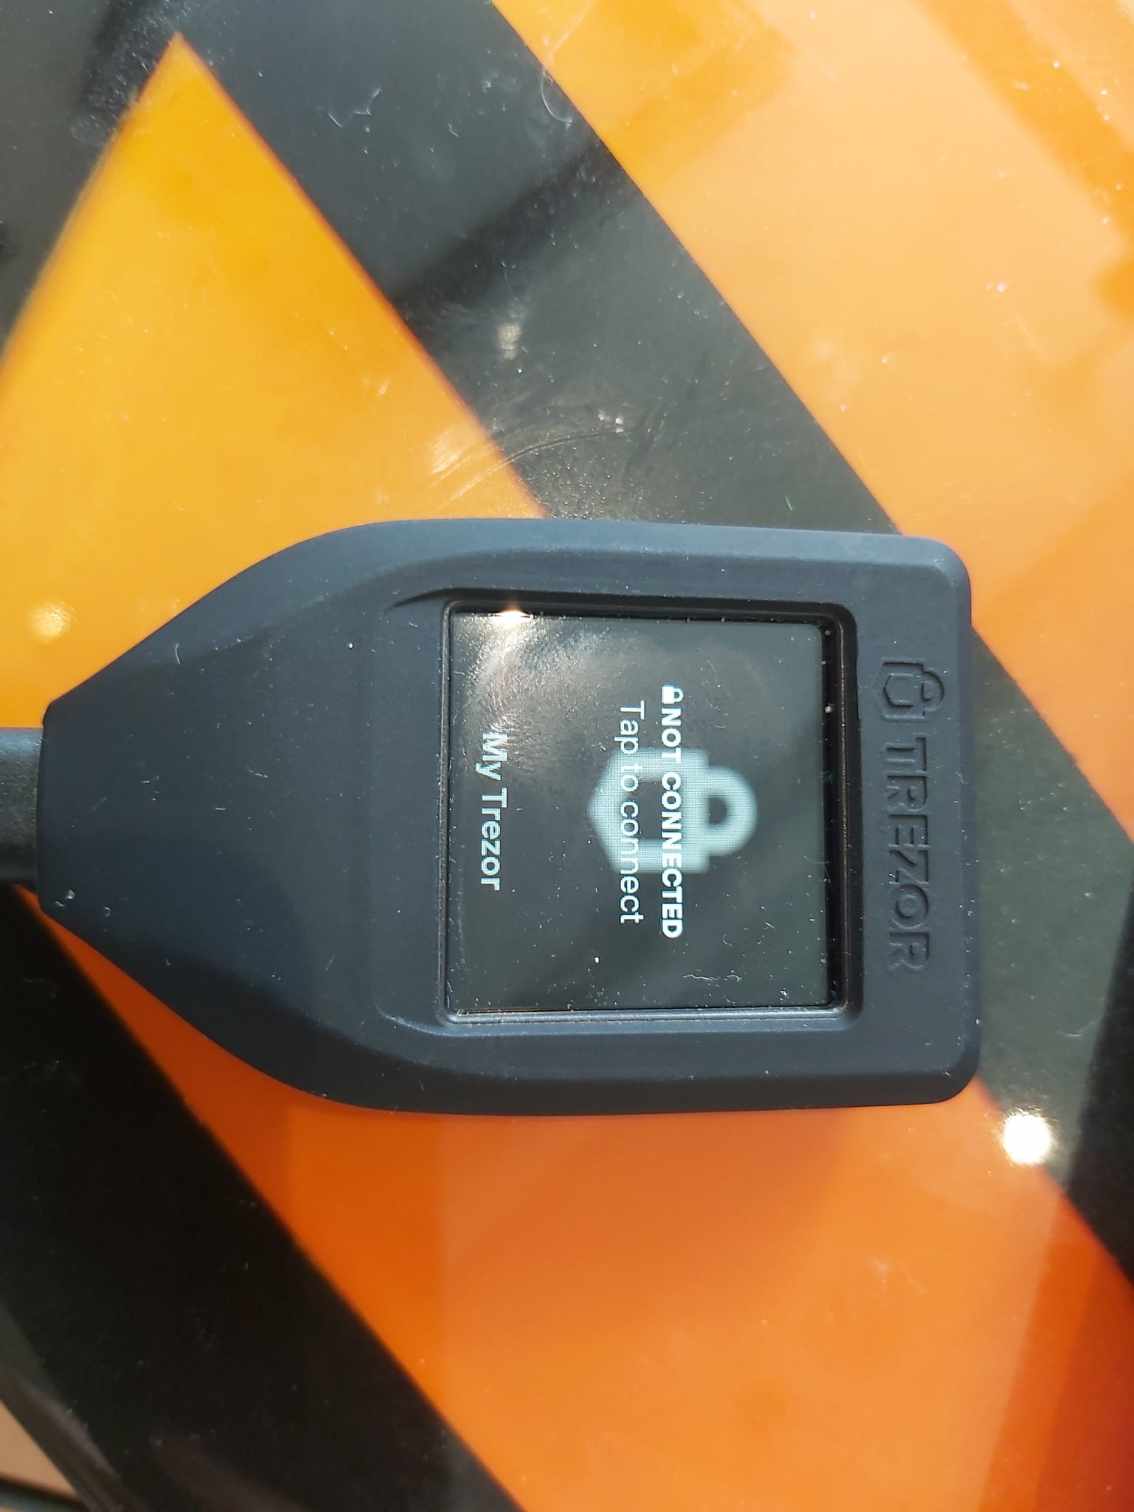
Touch the screen
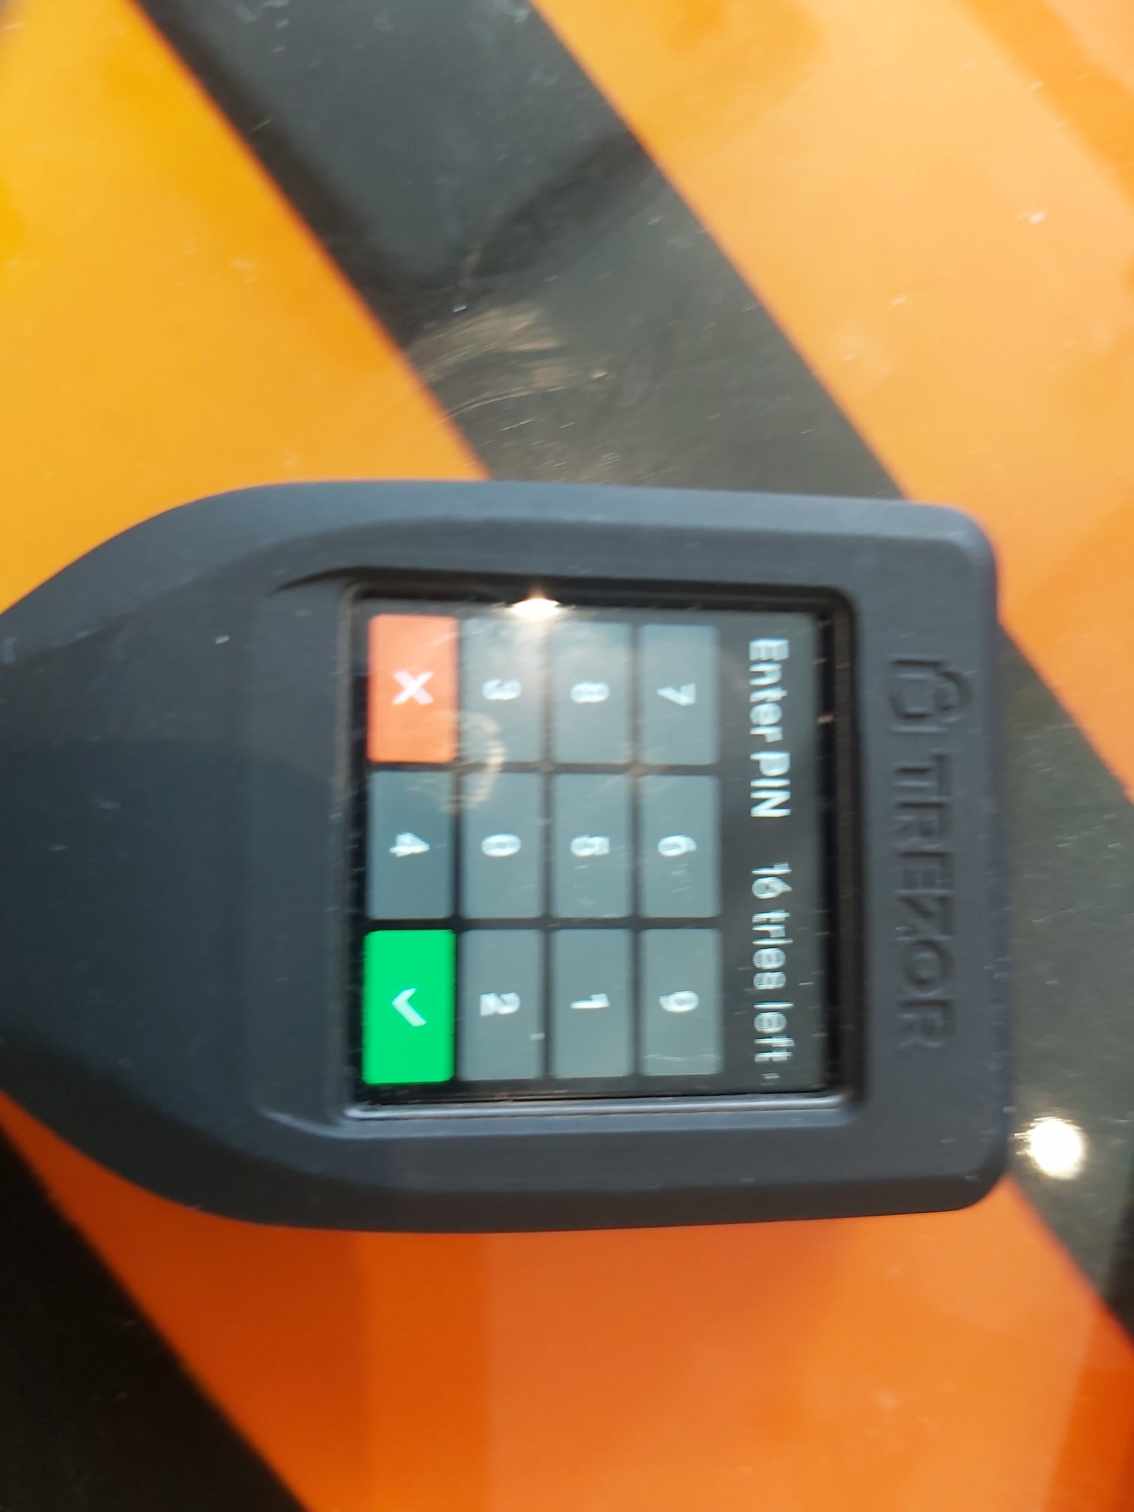
Enter PIN code
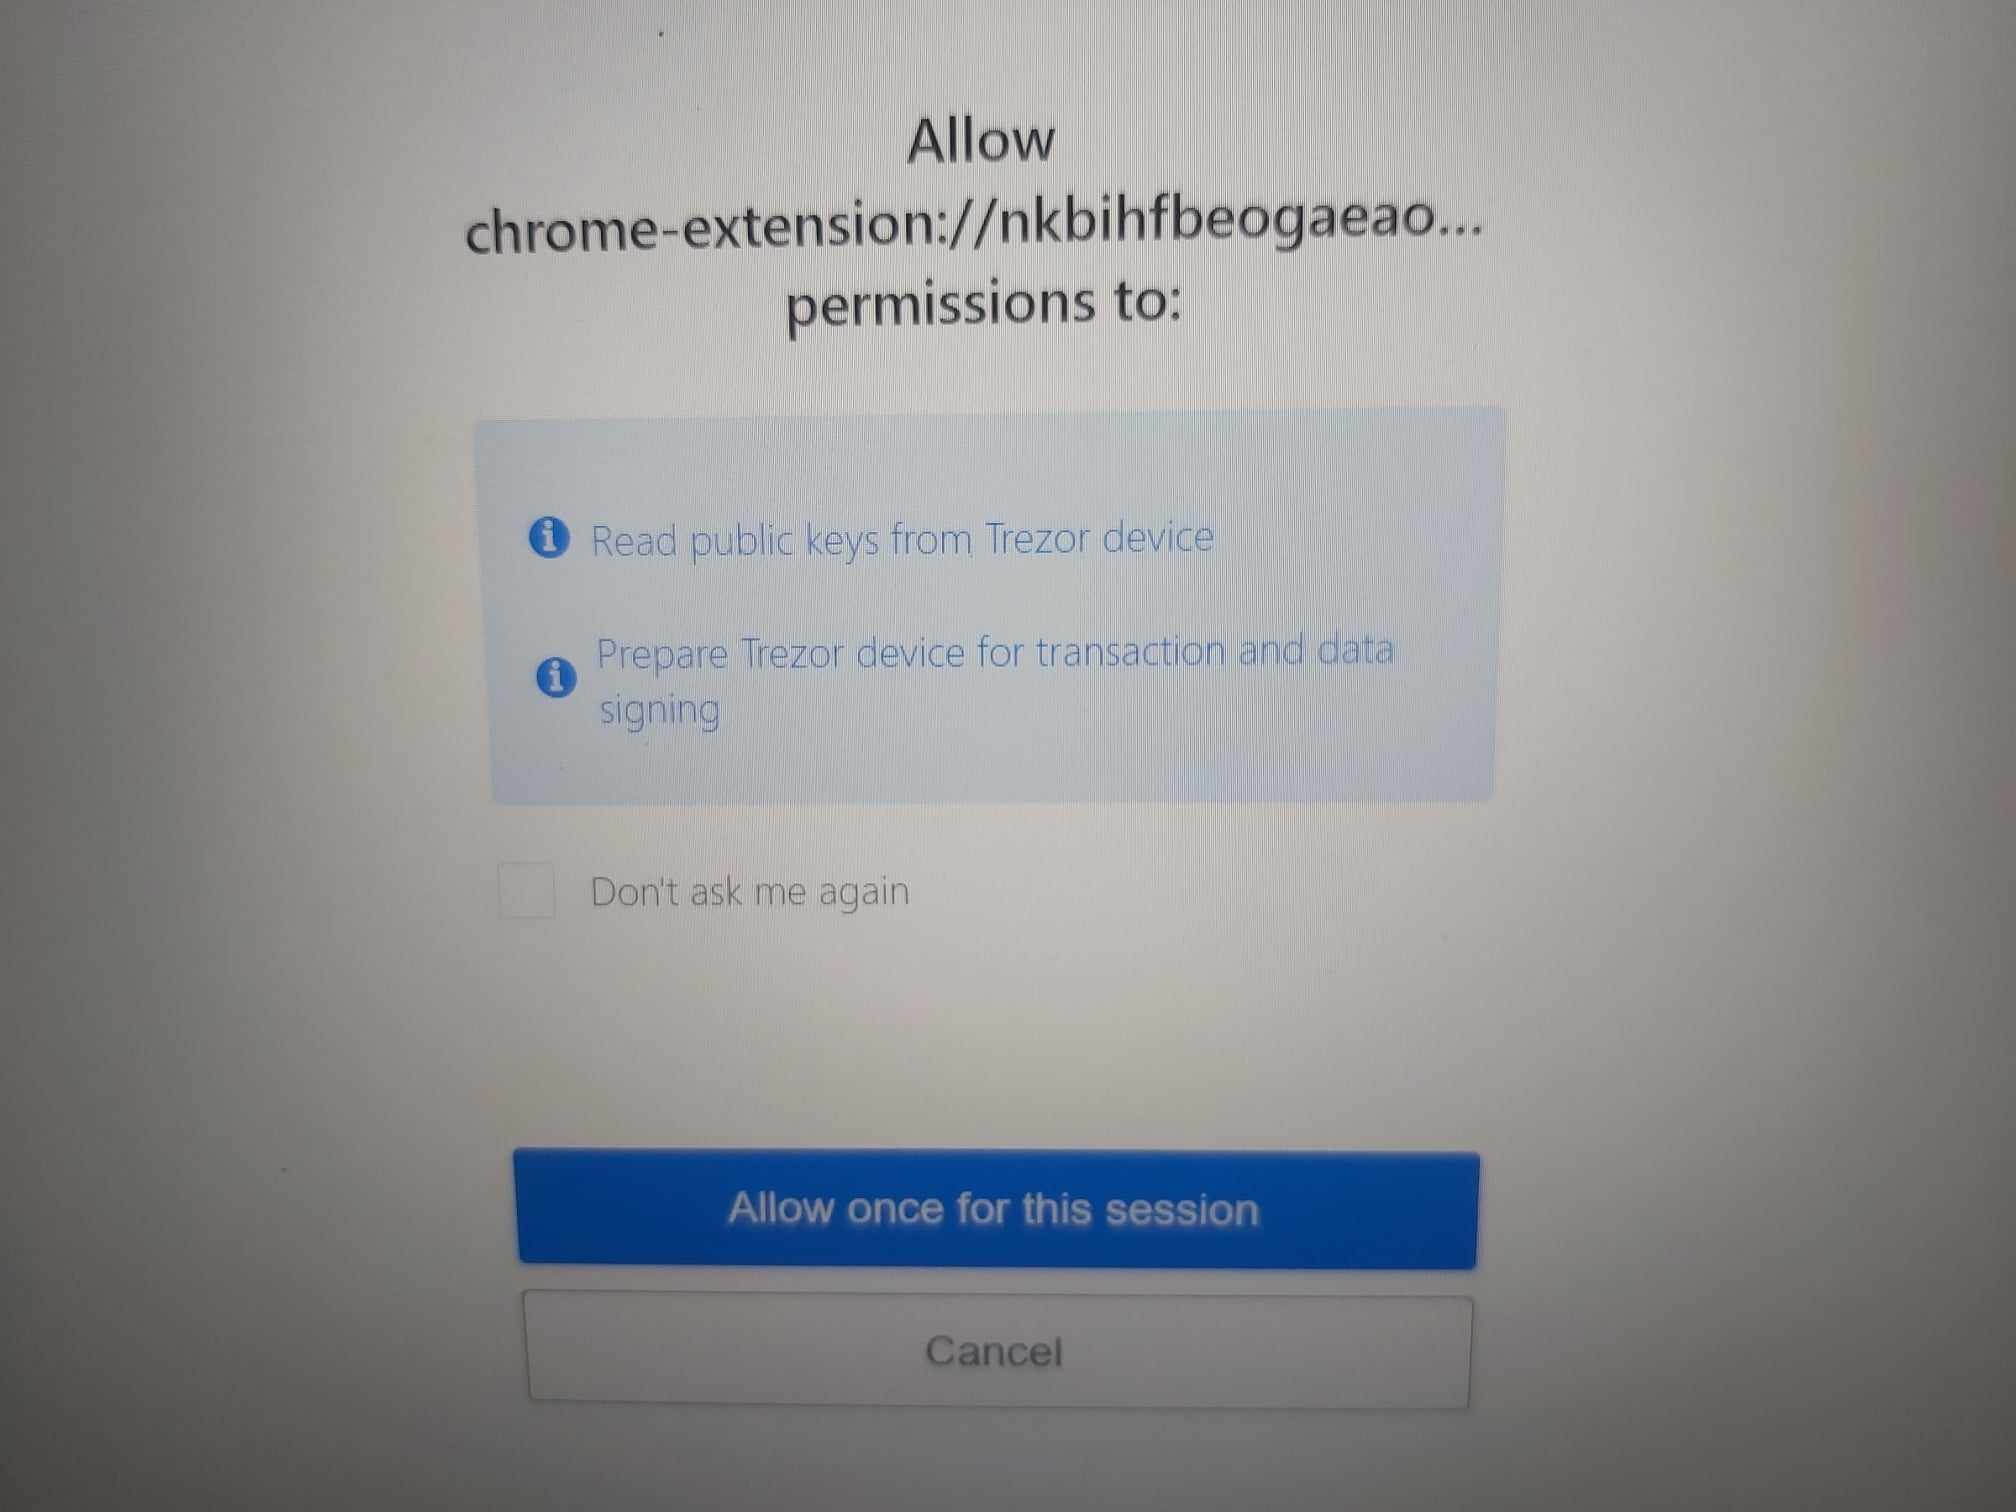
Step 3: Approve with Trezor 1) Click Confirm. 2) Click Allow once for this session. 3) Click export to export the public key, this is not the private key and is okay.

Click Confirm
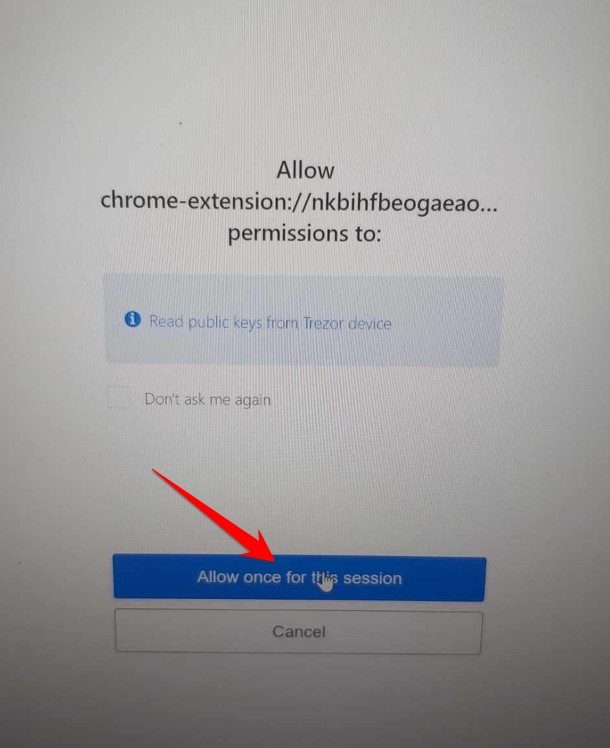
Click Allow once
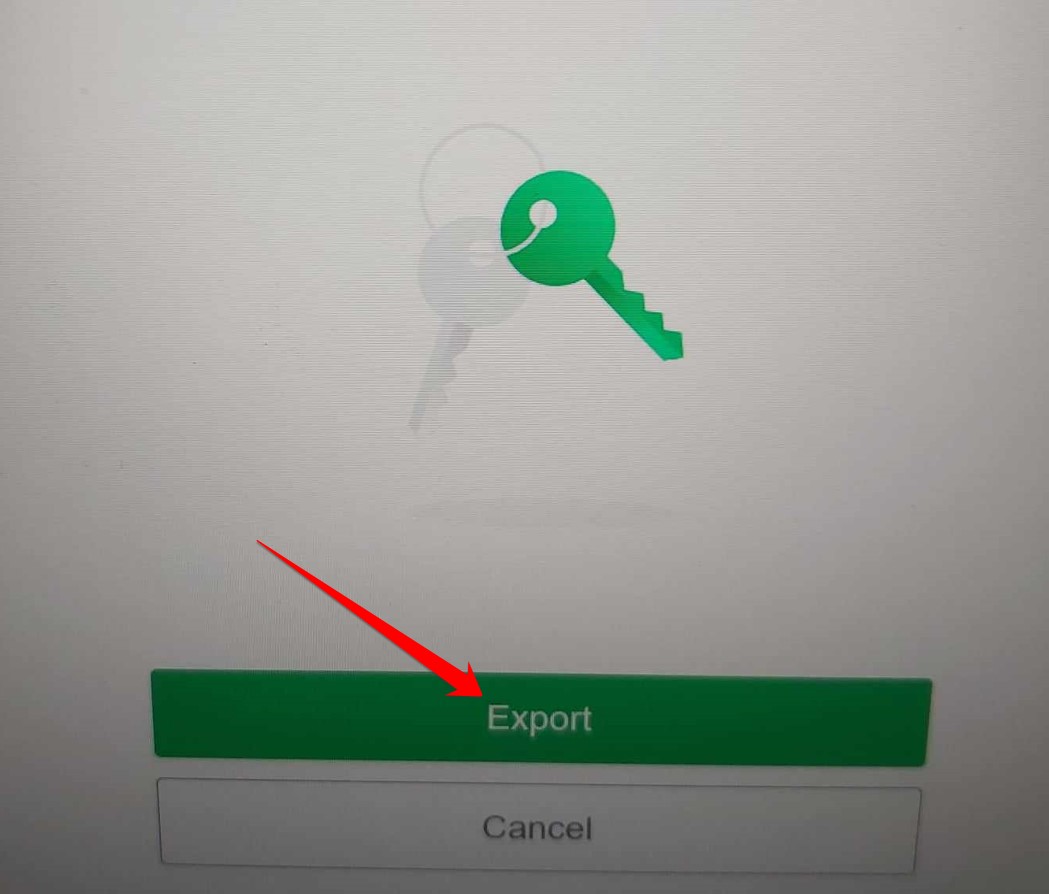
Click Export
Step 4: More Approval Do you have Trezor suite open? Then you might be asked to type your passphrase in the connected host, then you need to open the suite and click and confirm your wallet there. If not then continue to the next step. 1) If you have a passphrase set then click Hidden wallet and insert your passphrase. If you do not have a passphrase for extra security, then click Standard wallet. 2) Click Allow once for this session if this window opens again. 3) Go to your Trezor device to finish the transaction.
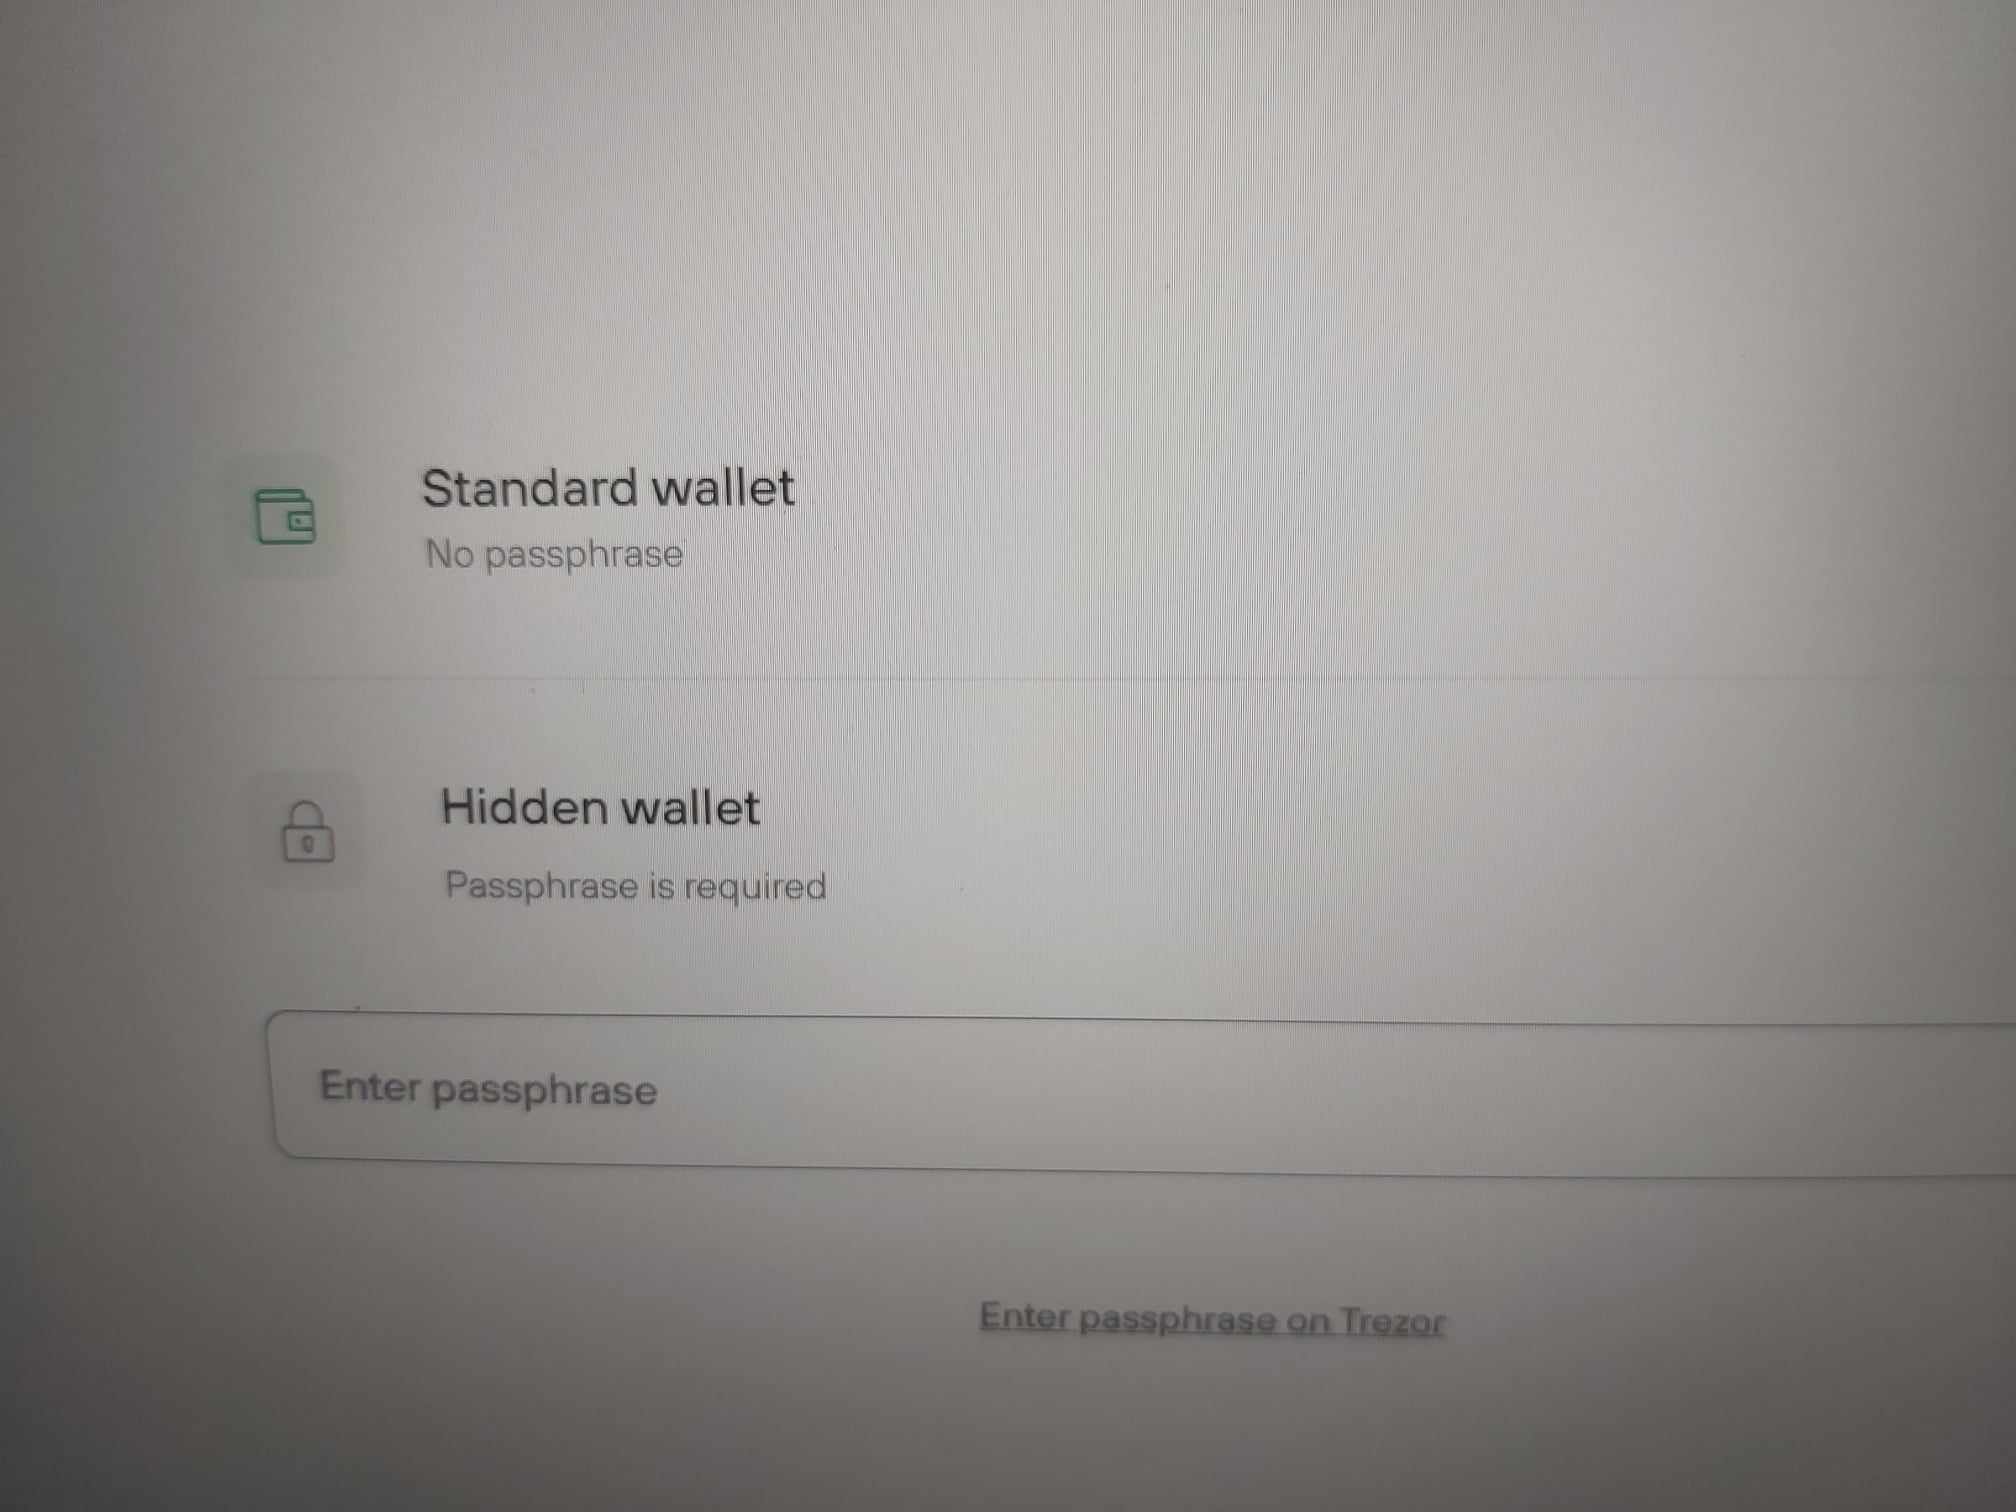
Click Hidden wallet & enter passphrase or click Standard wallet
Click Allow once
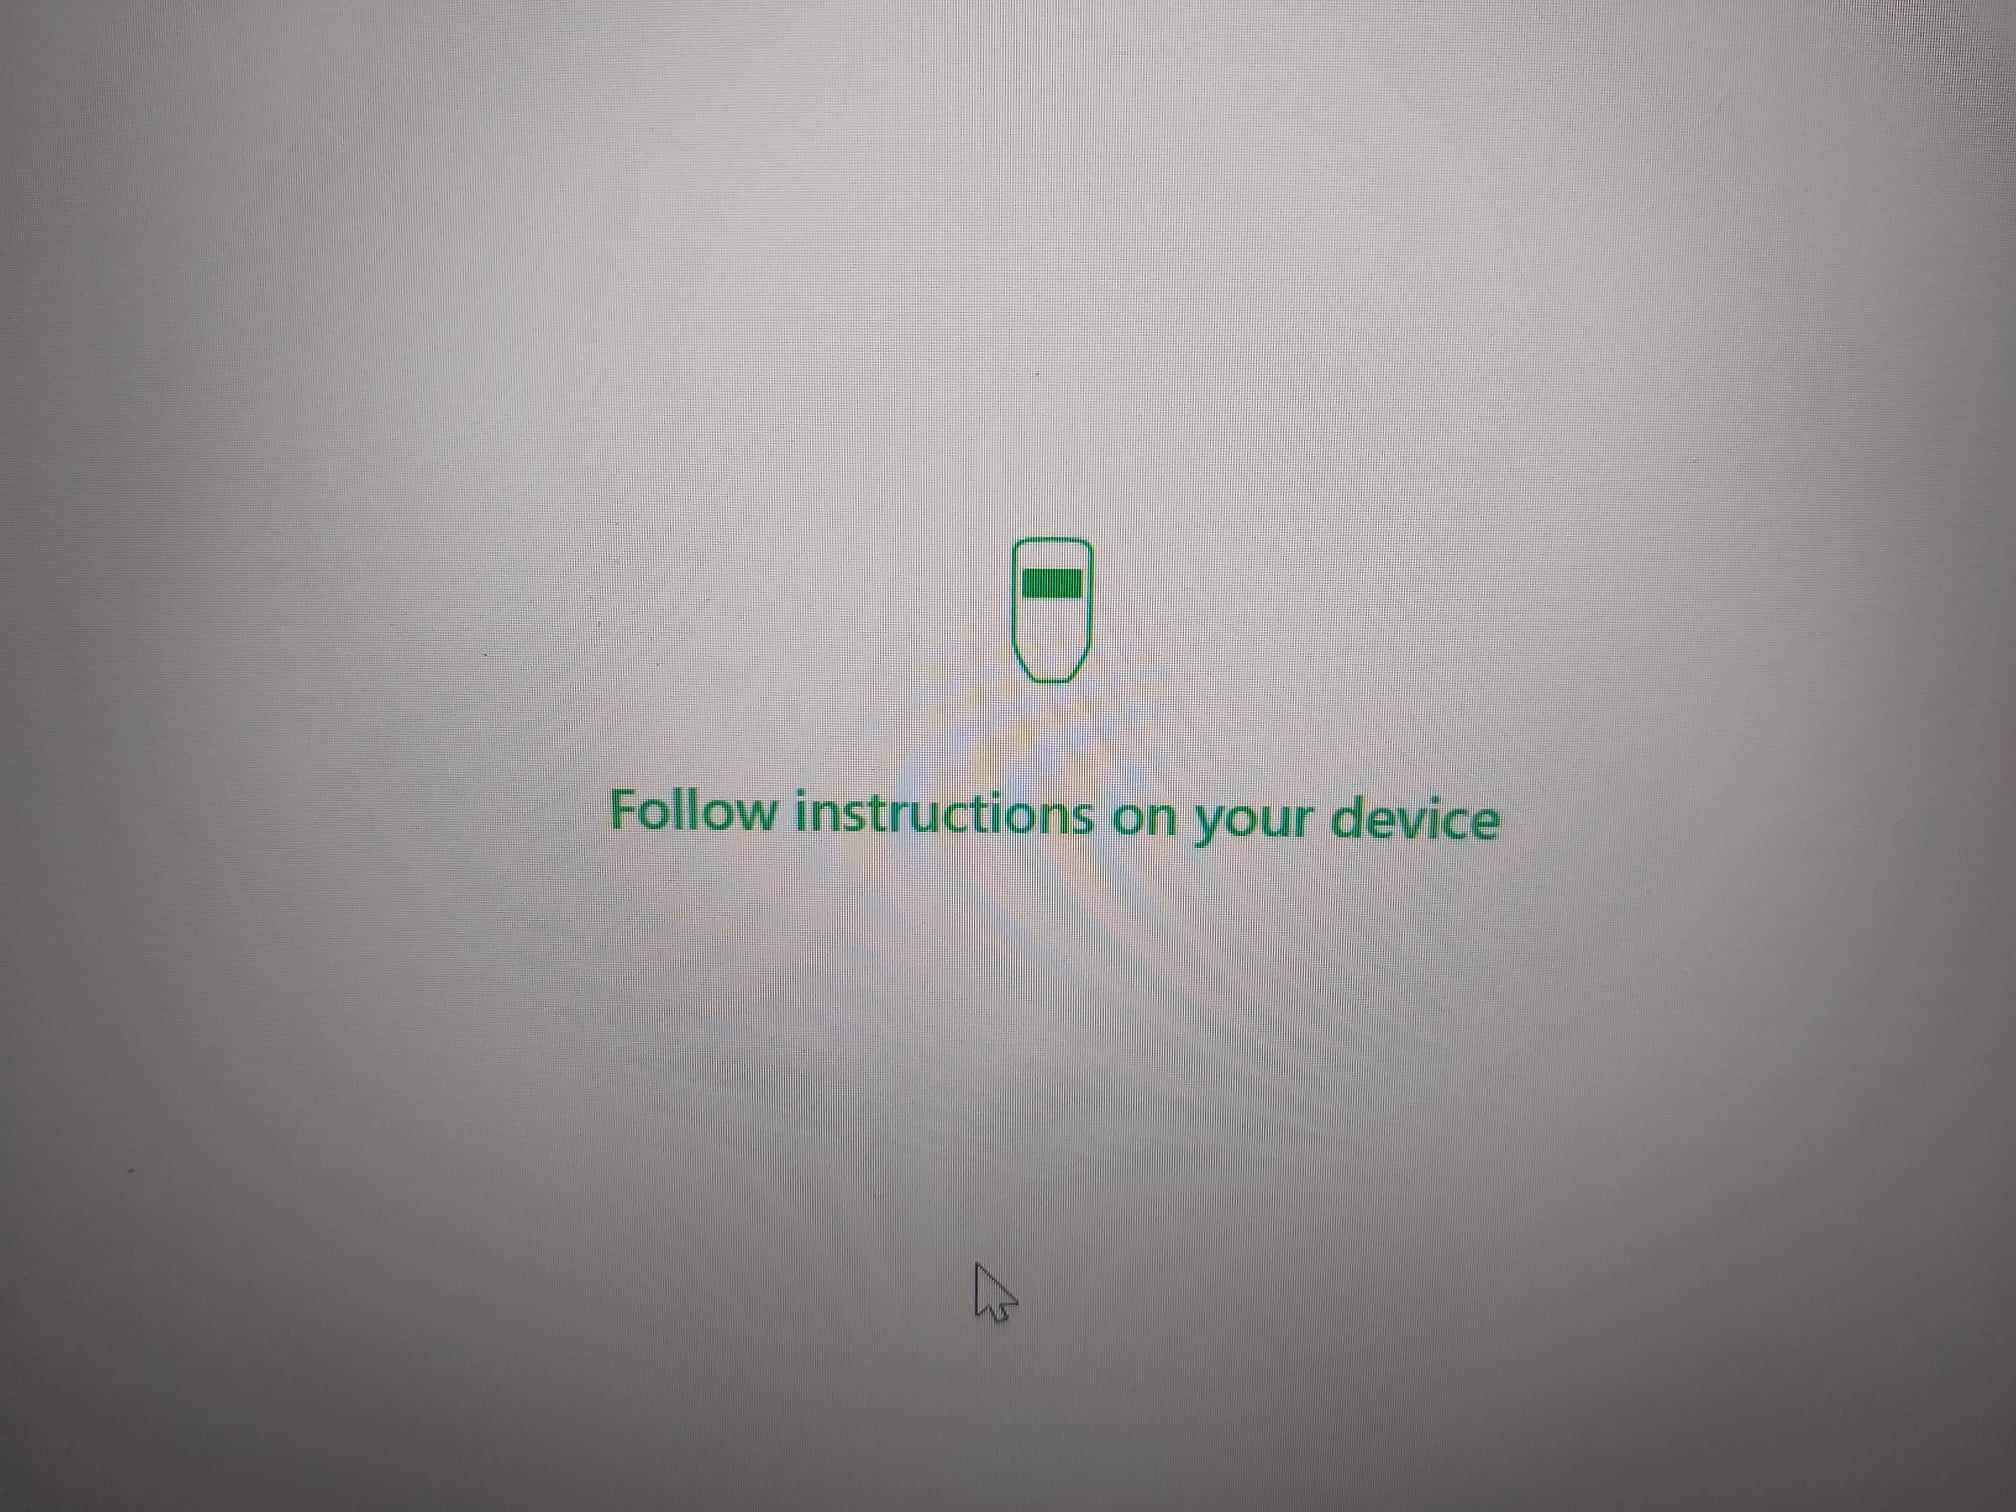
Follow instruction on Trezor device
Step 5: Confirm transaction on Trezor You have to make a lot of confirmations and approvals, this can be frustrating in the beginning but you`ll get used to it. 1) Click Continue. 2) Check that the amount of tokens is correct and Click Confirm. 3) This is the maximum fee for gas, Click Next.
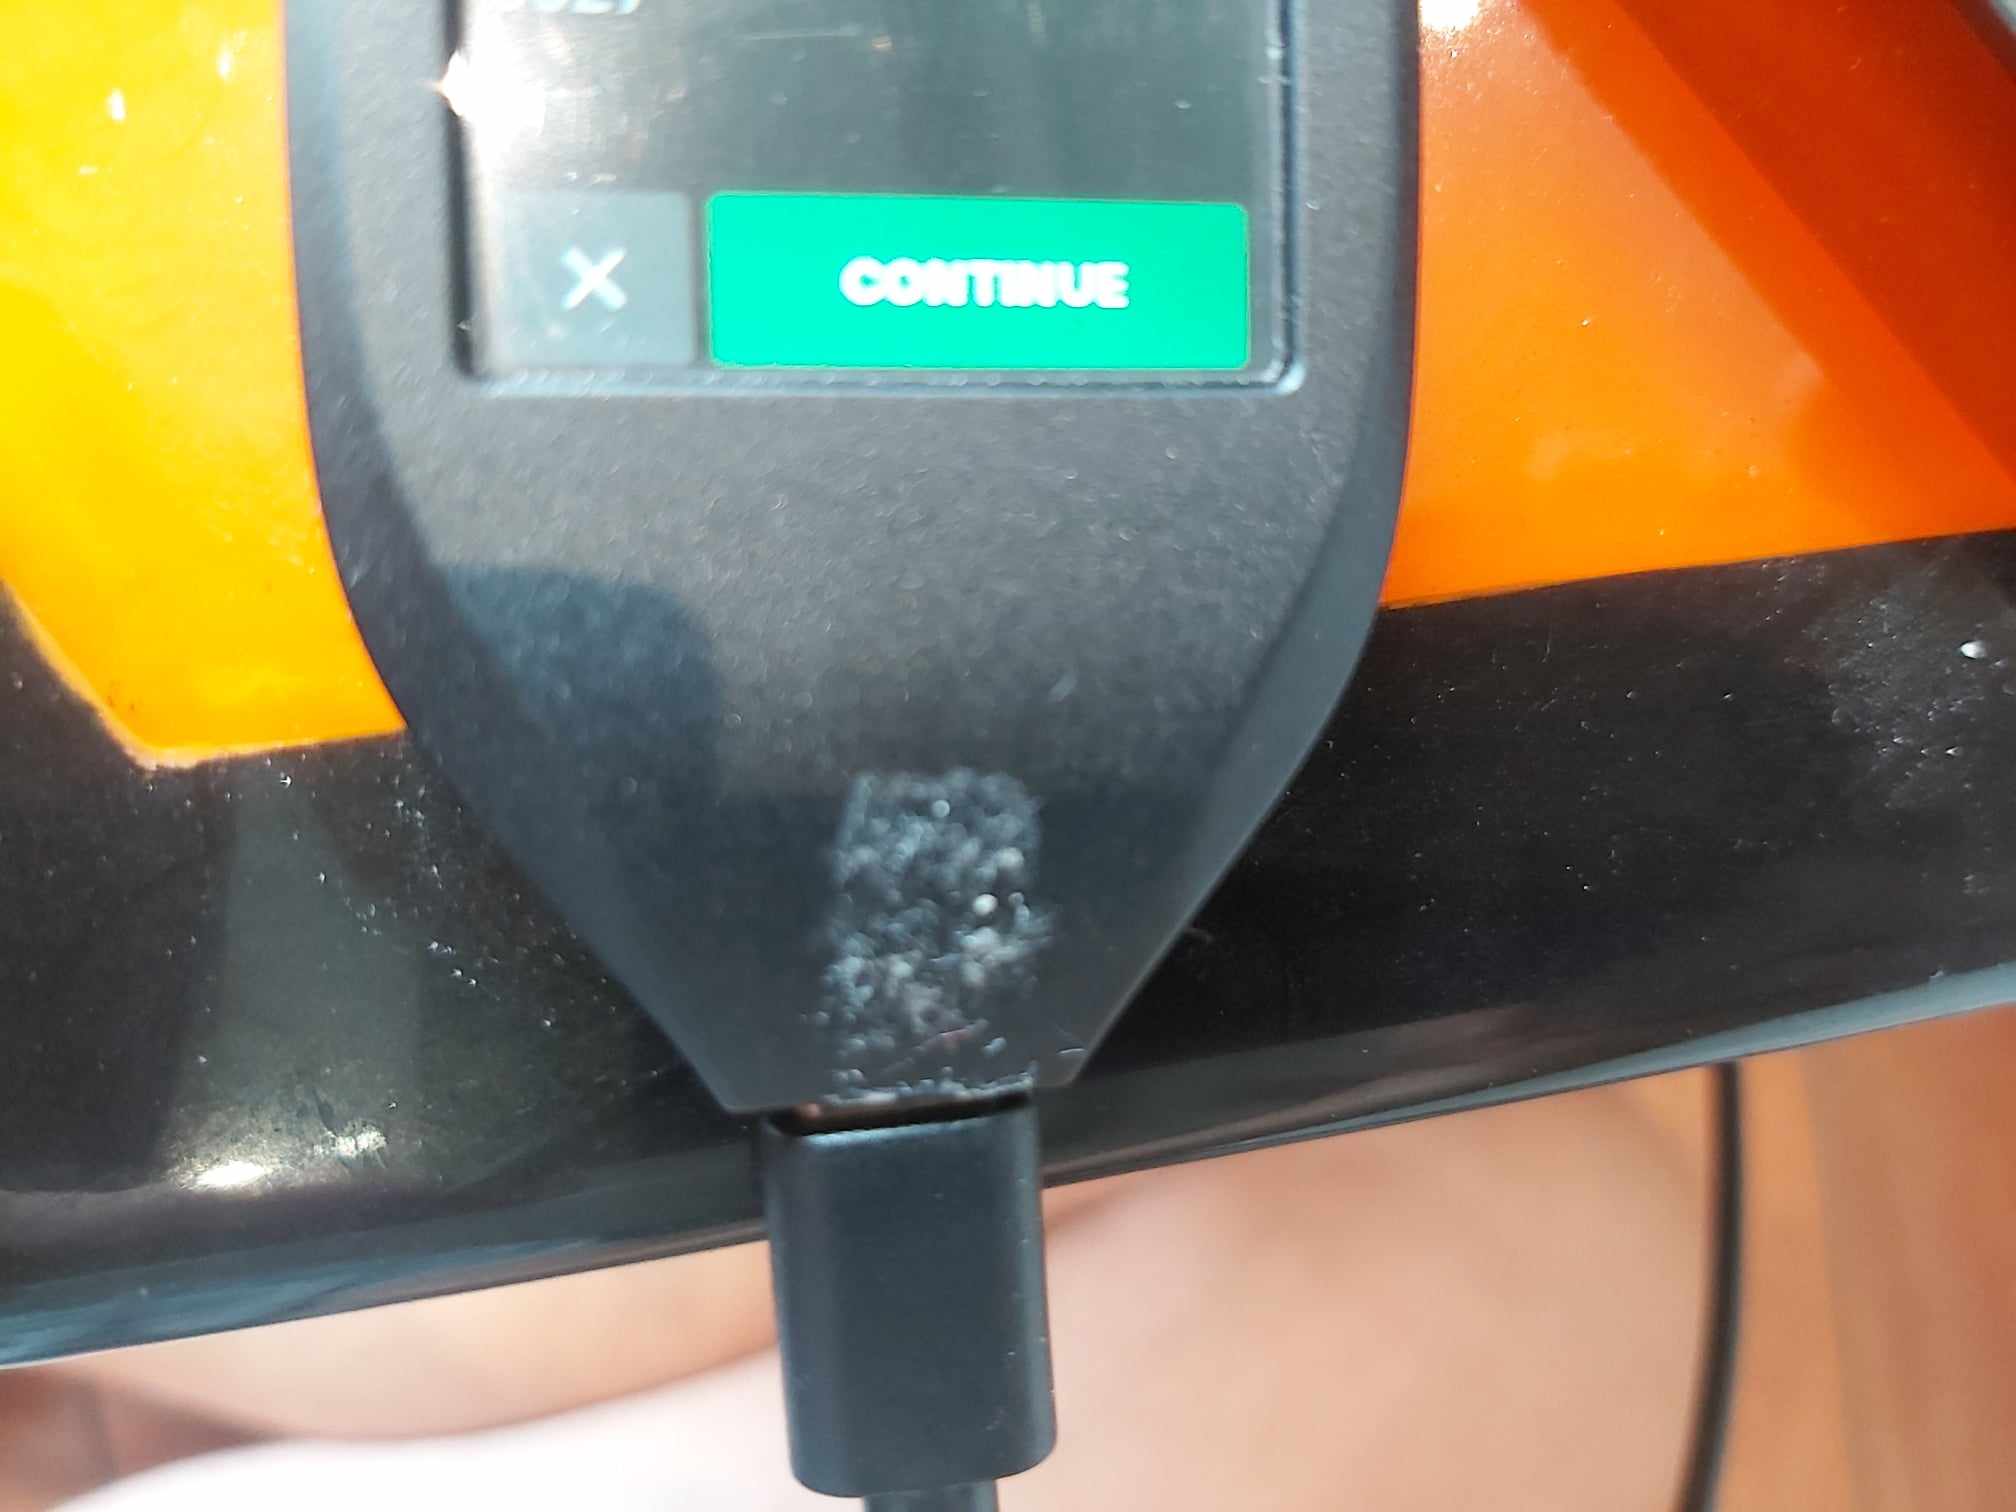
Click CONTINUE
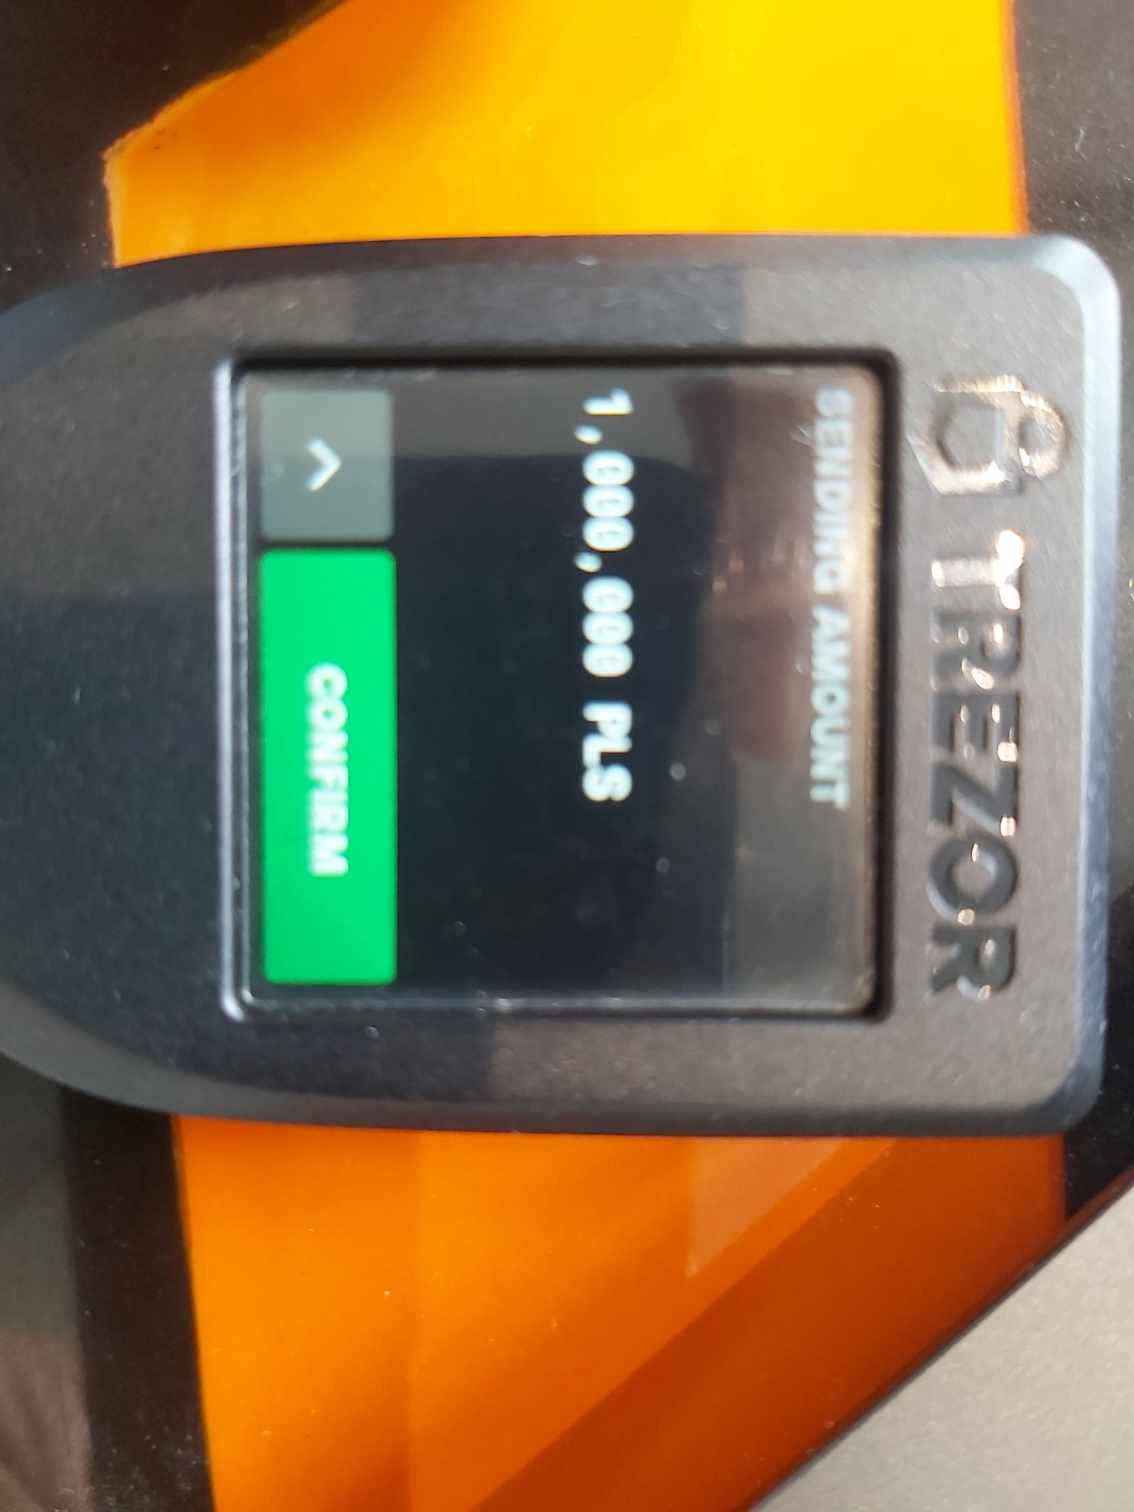
Click CONFIRM
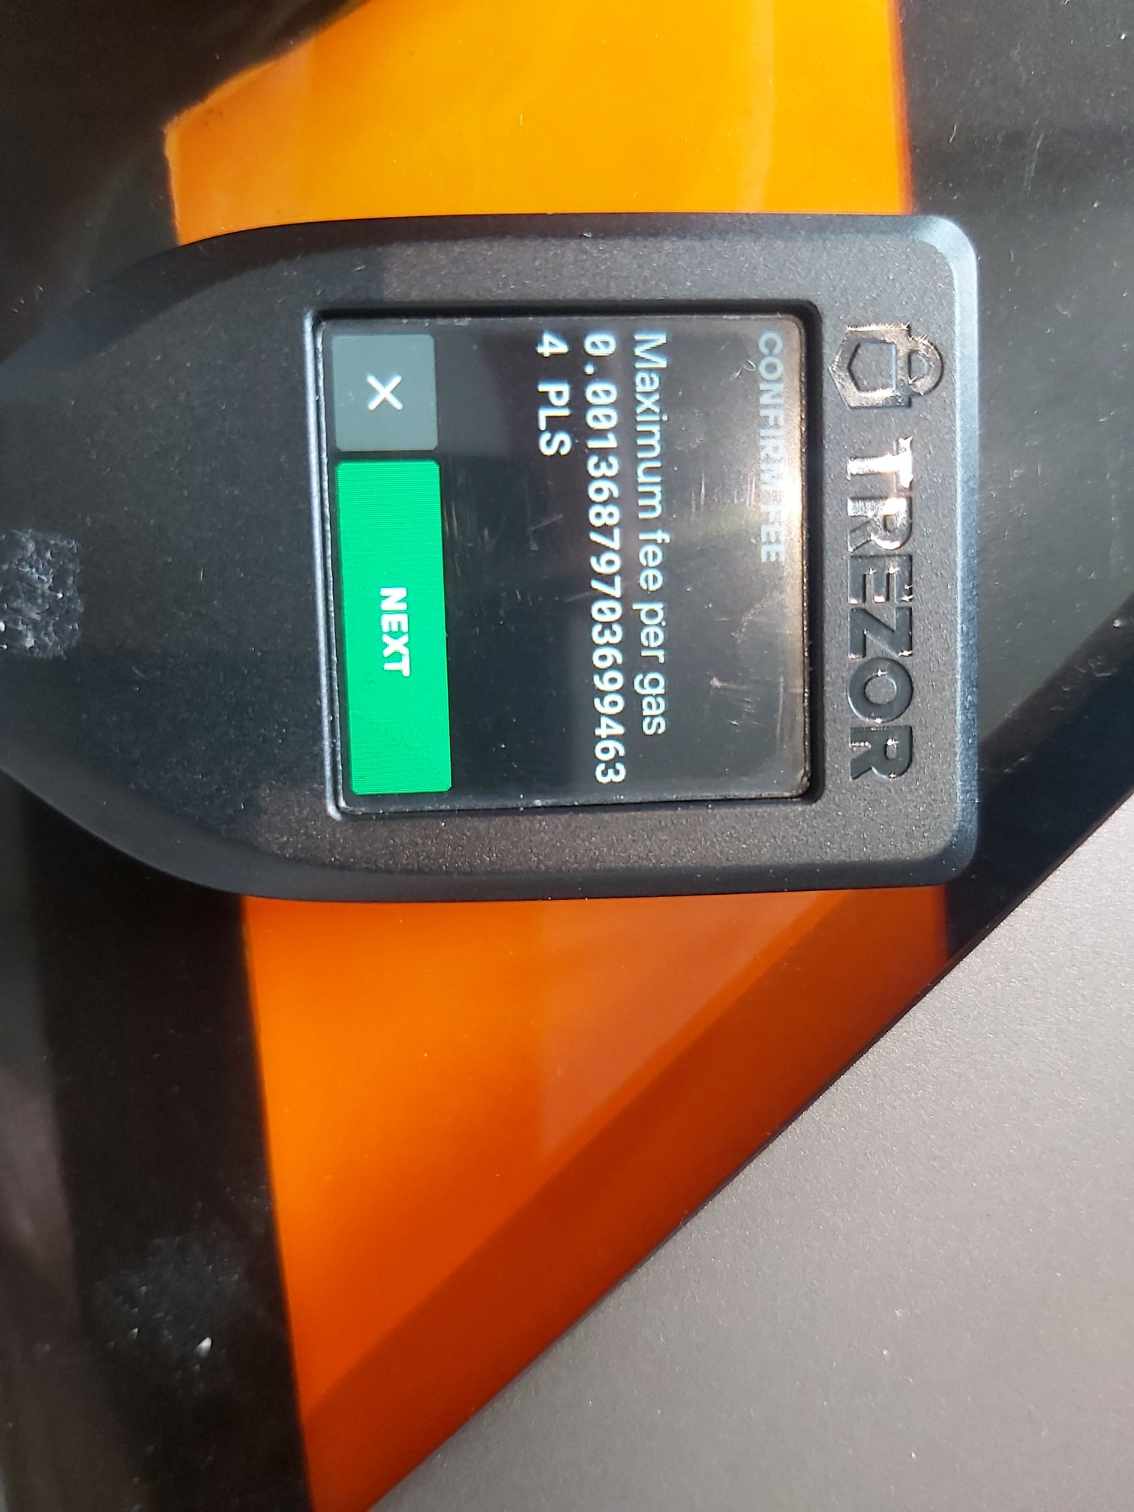
Click NEXT
Step 6: Confirm transaction on Trezor 1) This is priority fee for gas, Click Continue. 2) If the address you send to, token amount and gas is correct then HOLD the green button until Confirmed. 3) You can see that the amount in your wallet has decreased and the transaction is sent.
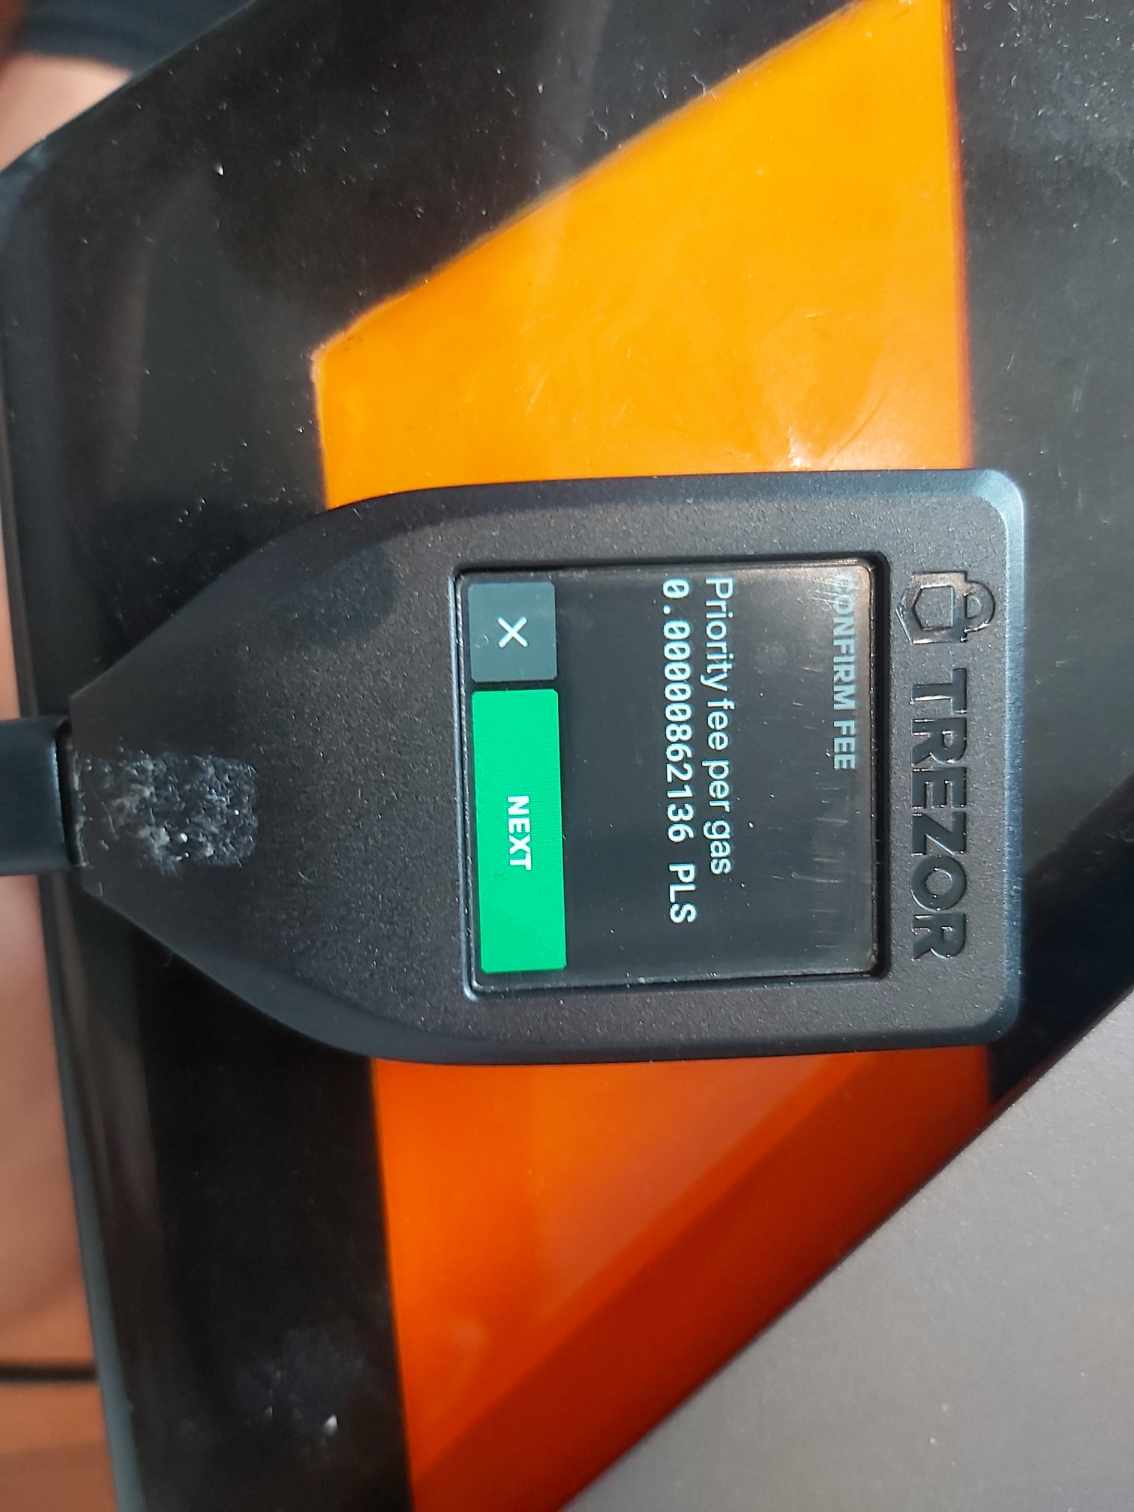
Click NEXT
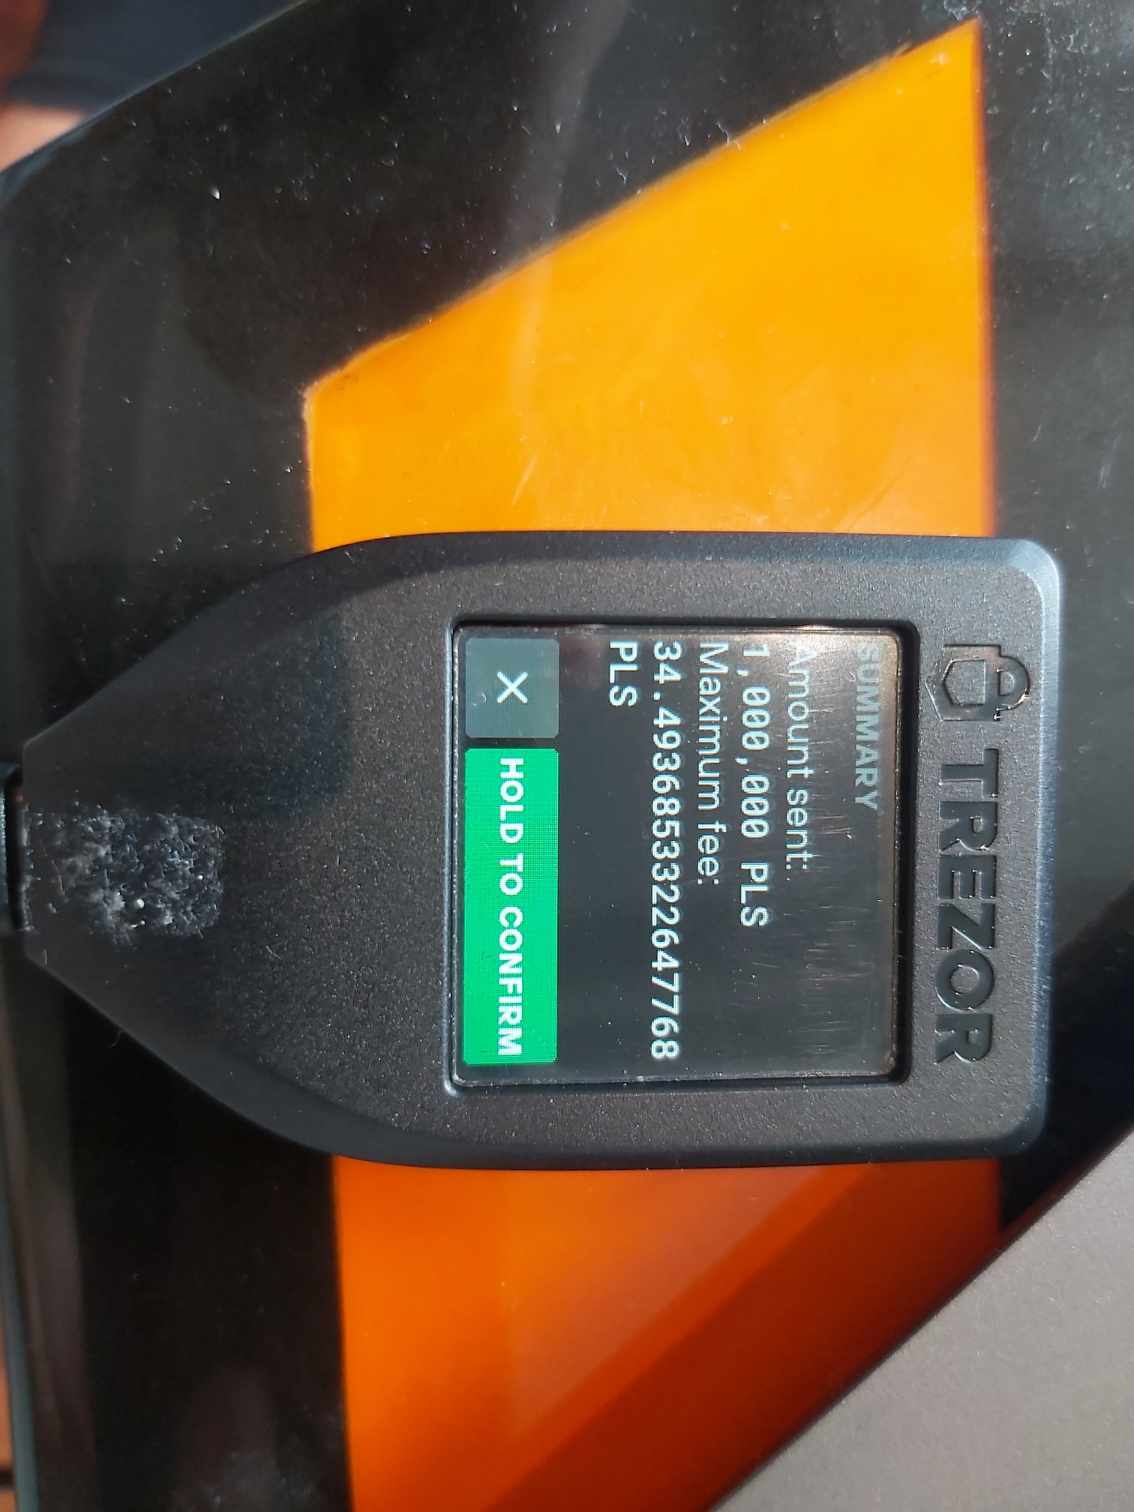
Click & HOLD TO CONFIRM
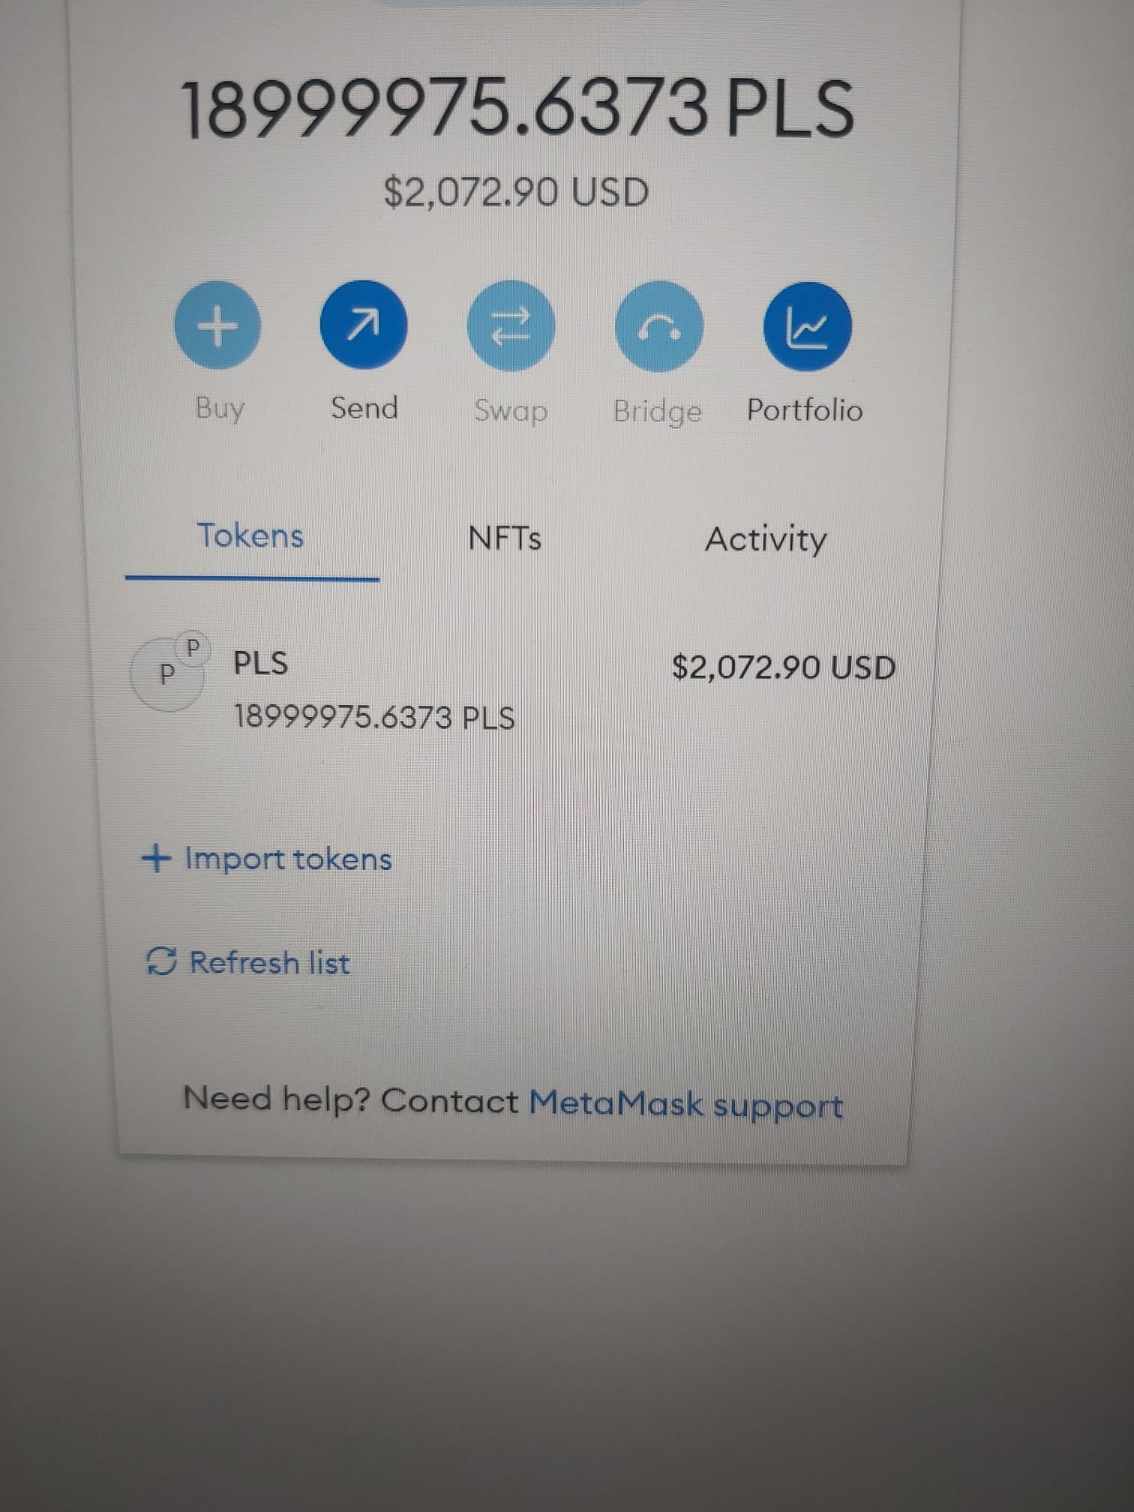
Transaction is sent
Step 7: Confirm transaction in Metamask 1) Under the activity tab in your Metamask wallet you can see the receipt, if you click it you can open the transaction on the block explorer. 2) Click View on block explorer to open the Pulsechain block explorer. 3) If it says Success then the transaction went through. If there is a problem with a transaction, this is a great way to find out more about what the issue might be.
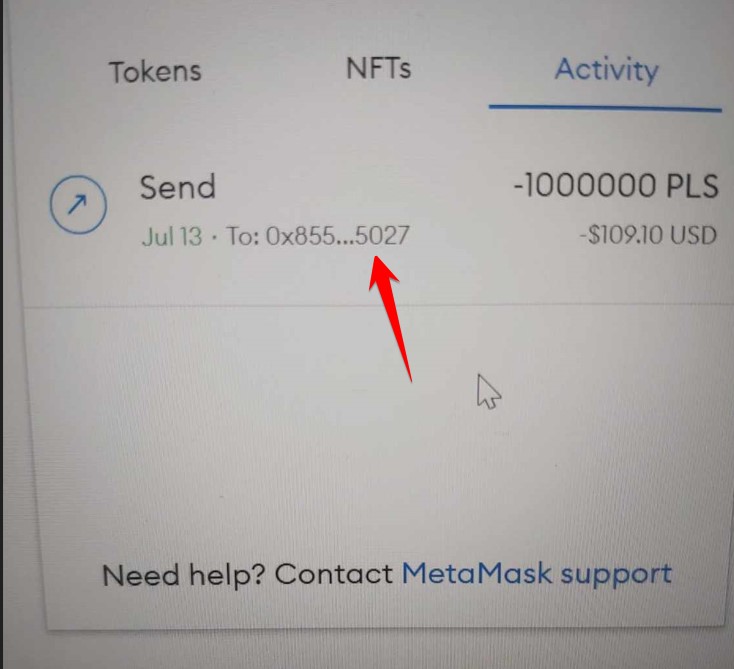
Click on Send transaction

Click View on block explorer
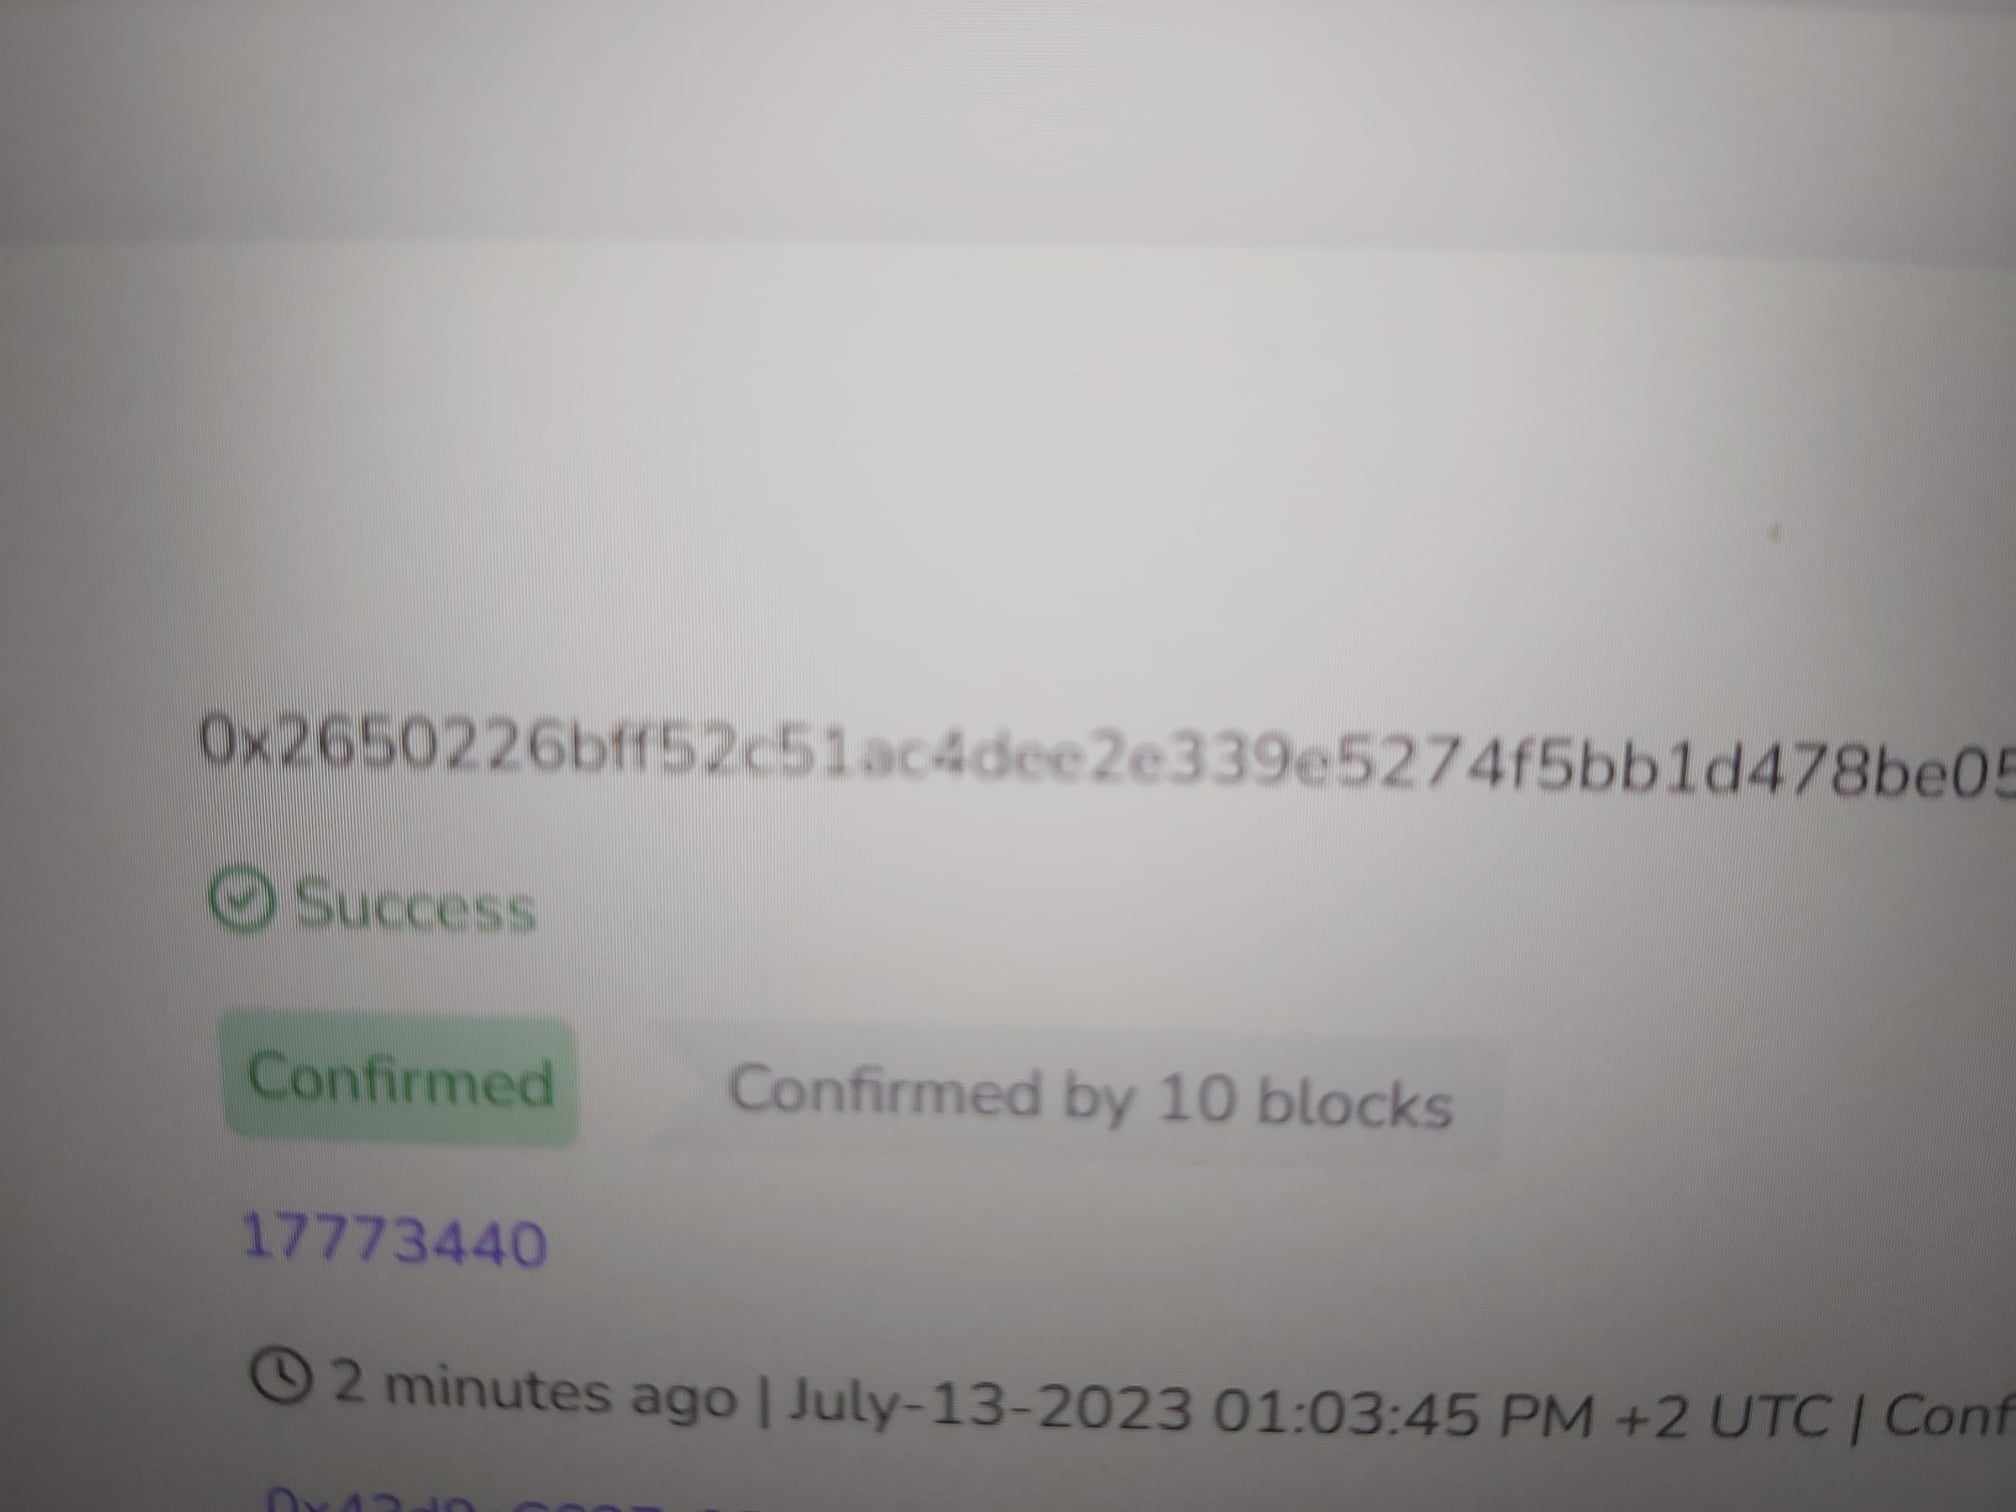
Success!
Step 8: How to lock Metamask You should lock your Metamask every time you are done using it. To unlock it just type in your password again the next time you use your wallet. 1) Click the three dots on top right. 2) Click Lock Metamask. 3) To unlock it just type in your password again the next time you use your wallet.
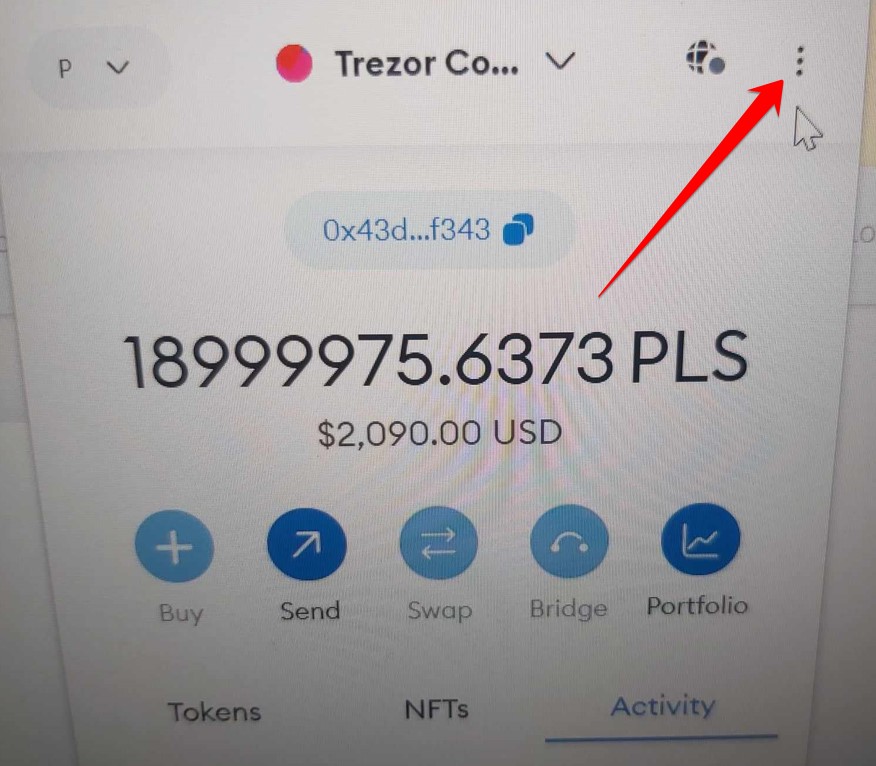
Click the three dots

Click Lock Metamask
Unlock by typing in your password again
Disclaimer: To interact with your Trezor hardware wallet, you'll need to install the Trezor Bridge (for Trezor One) or the Trezor Suite software (for Trezor Model T). Follow the instructions provided on the Trezor website to download and install the necessary software for your device. Once the software is installed, open it on your computer and connect your Trezor device. Follow the instructions provided by the software to access and manage your cryptocurrencies. You can view your balances, send and receive funds, and manage your wallet settings through the Trezor software interface. Remember to keep your Trezor device and recovery seed phrase secure. Regularly update the firmware of your device and stay informed about best practices for using hardware wallets. Always double-check the authenticity of the Trezor website and software to avoid phishing attempts. It's important to note that this guide provides a general overview of the process. For detailed instructions specific to your Trezor model and the latest software versions, refer to the official Trezor documentation and user guides.